Anytime I hear something is made with brown butter, my ears perk up. I'm intrigued, you have my attention. I believe it's the simplest thing you can do to elevate a recipe. It's not like you are purchasing additional ingredients, just additional time. But not a lot, like 10 mins. Brown butter is the quiet hero behind so many of my cozy, café-style recipes. It takes something simple and familiar and transforms it into something warm, nutty, caramel-like, and deeply comforting. Once you learn how to brown butter properly, it becomes second nature — and your cookies, cakes, sauces, and desserts will taste like they came from a bakery window.
This is my go-to, step by step method for making perfect brown butter every time without burning it and without losing those precious flavor-packed brown bits.
Brown butter (also called beurre noisette if you're extra) is regular butter that’s gently cooked until the milk solids toast and turn golden brown.
Butter is made of:
When you heat butter:
That’s brown butter.
It’s simple chemistry. And it’s magical, honestly the first time you brown butter perfectly it will feel like sorcery.
Using brown butter instantly upgrades a recipe.
Benefits:
If a recipe tastes good with regular butter, it will almost always taste better with brown butter. I do find that sometimes that with acidic fruit recipes the brown butter can be muted, it's best to enhance the surrounding elements like the icing.
Unsalted butter gives you full control over flavor and browns more predictably.
Salted butter can brown unevenly and makes it harder to judge doneness.
Browning butter isn’t difficult, but it does require your attention.
This is one of those ingredients you need to babysit. Similar to cooking garlic, it moves from perfect to burned very quickly. You want to make sure you have the time and focus to stay with the pan from start to finish.
This happens to all of us. You glance away to answer a text, rinse one dish, or think, let me just do this one thing and suddenly… the butter is burned.
Set aside 6 to 10 uninterrupted minutes, keep the heat moderate, and stay close. Patience is the real first step to perfect brown butter.
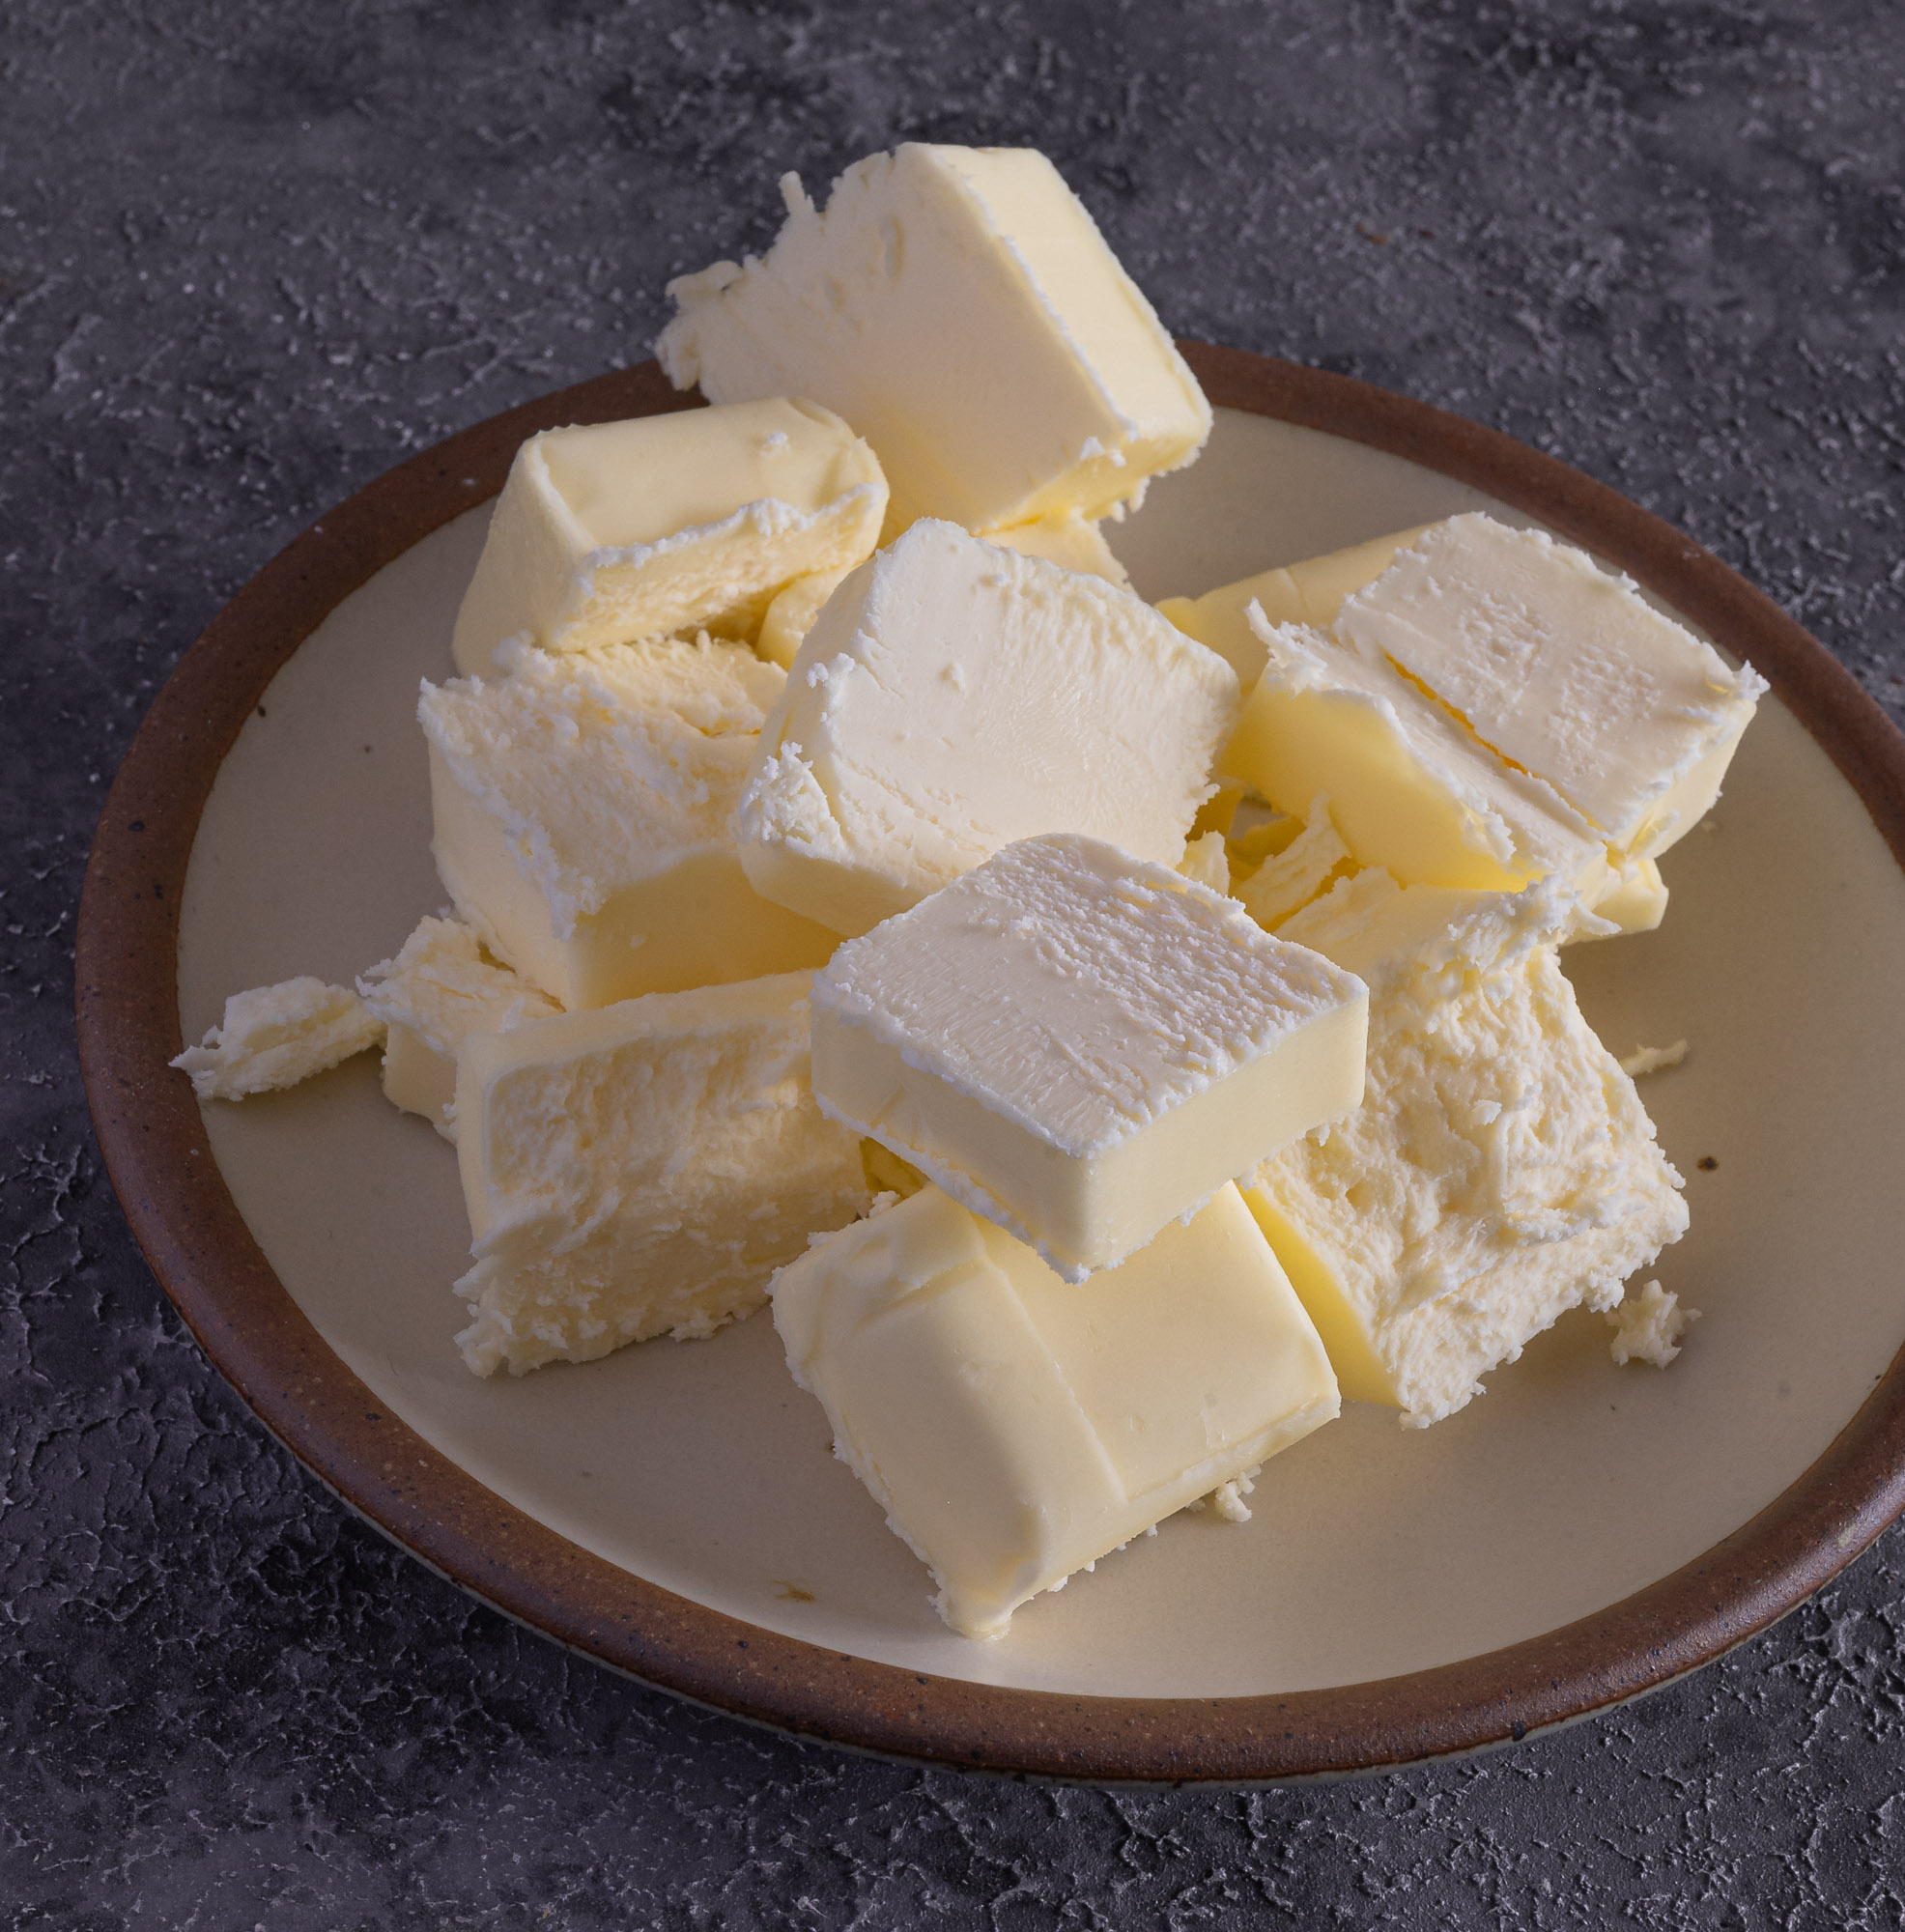
Cut butter into evenly sized pieces.
This helps it melt and brown evenly.
Place butter in your saucepan and turn heat to medium.
Let it melt slowly.
Do not rush this step.
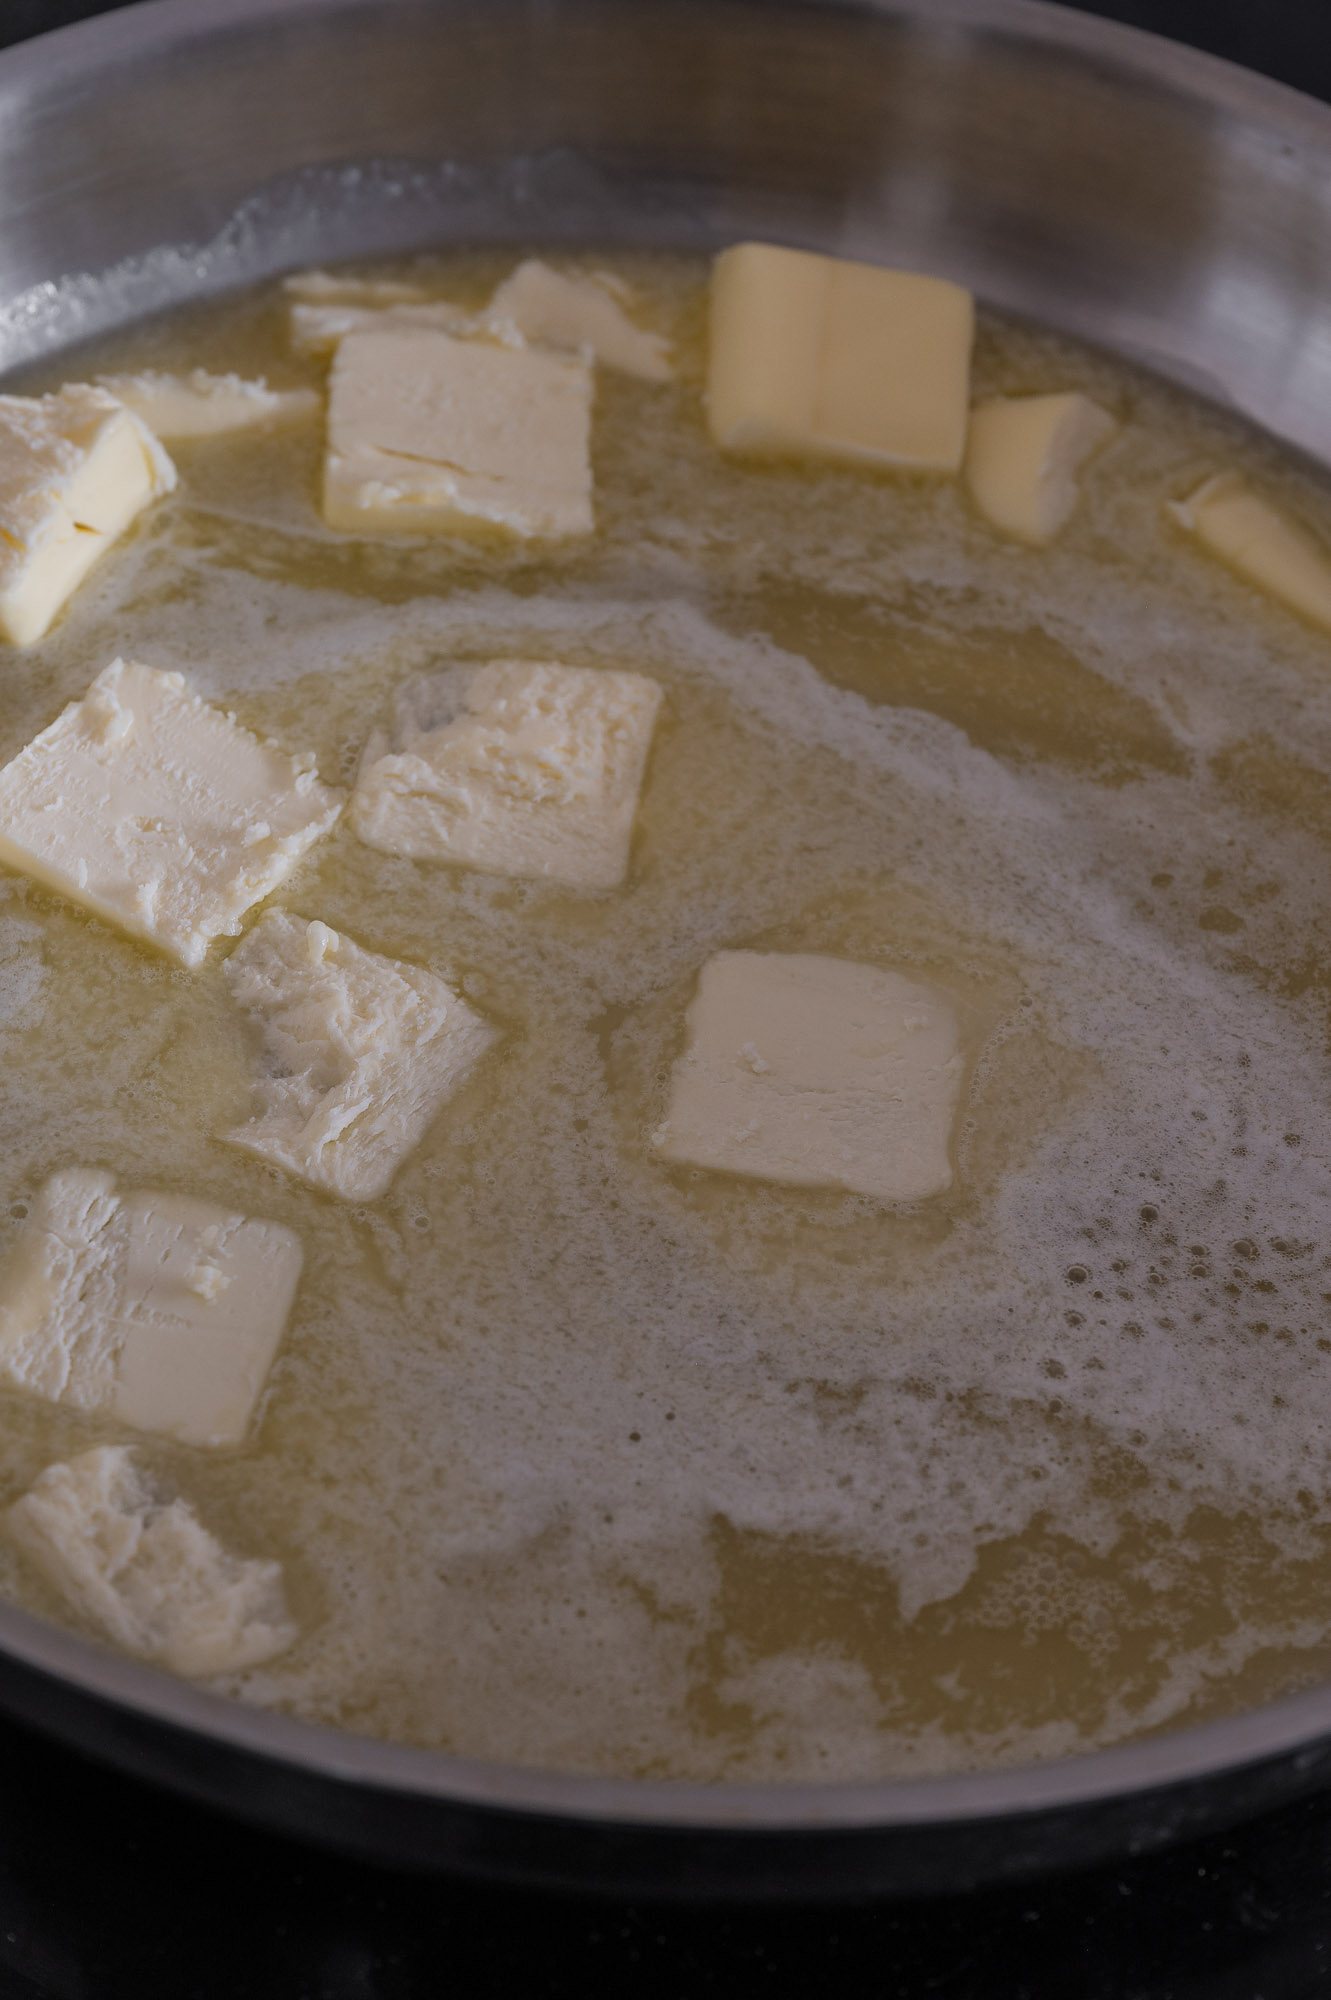
Once melted, the butter will begin to bubble and foam.
This is the water evaporating.
It’s completely normal.
Keep stirring gently.
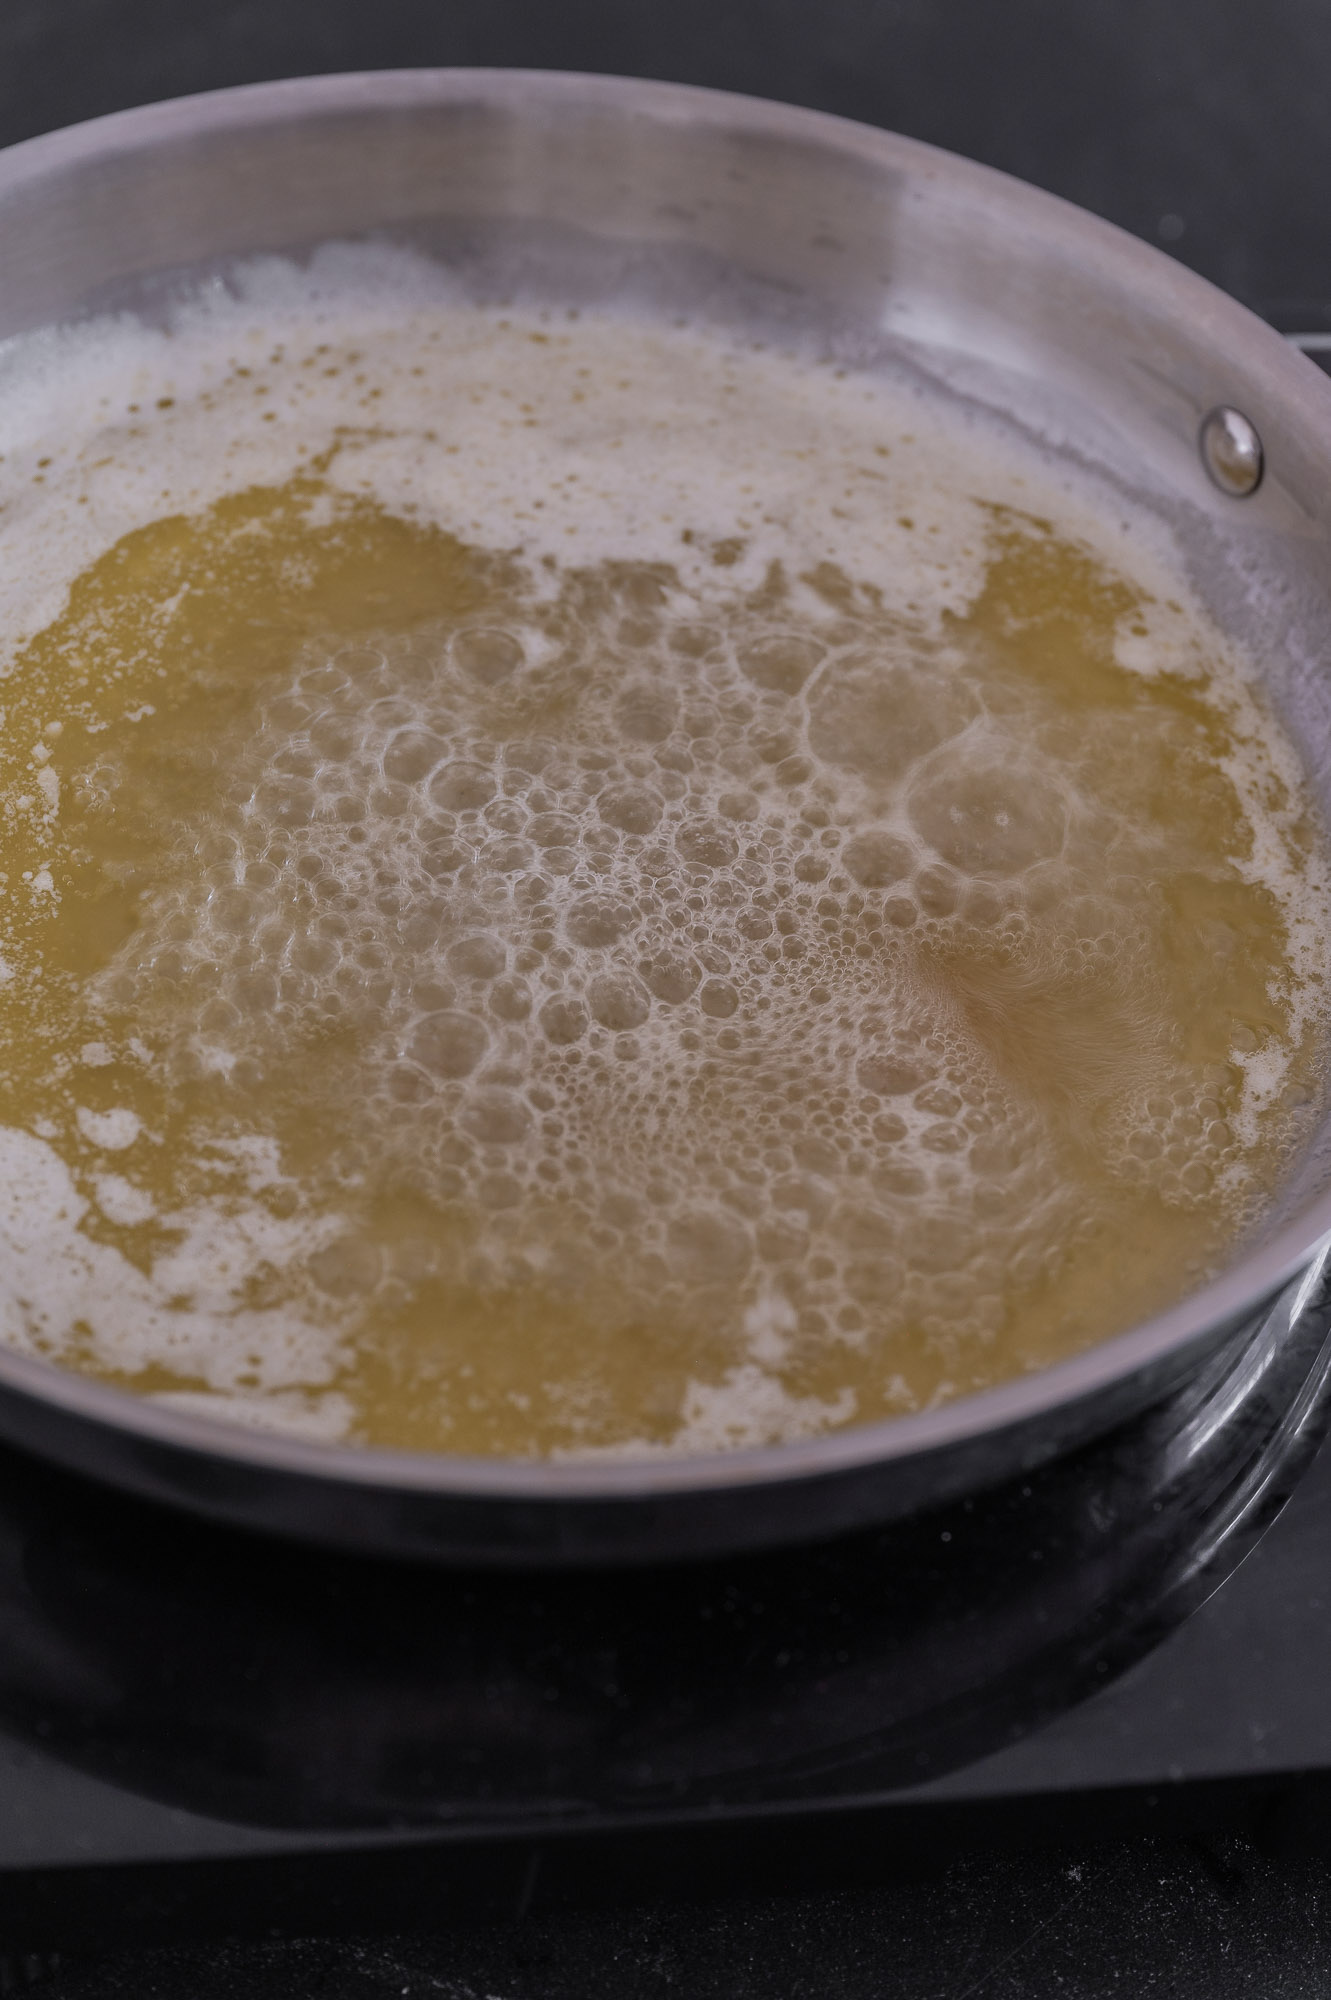
As the foam settles, you’ll start to see tiny brown flecks forming at the bottom.
These are the milk solids.
This is where flavor is born.
Do not walk away.
Keep stirring.
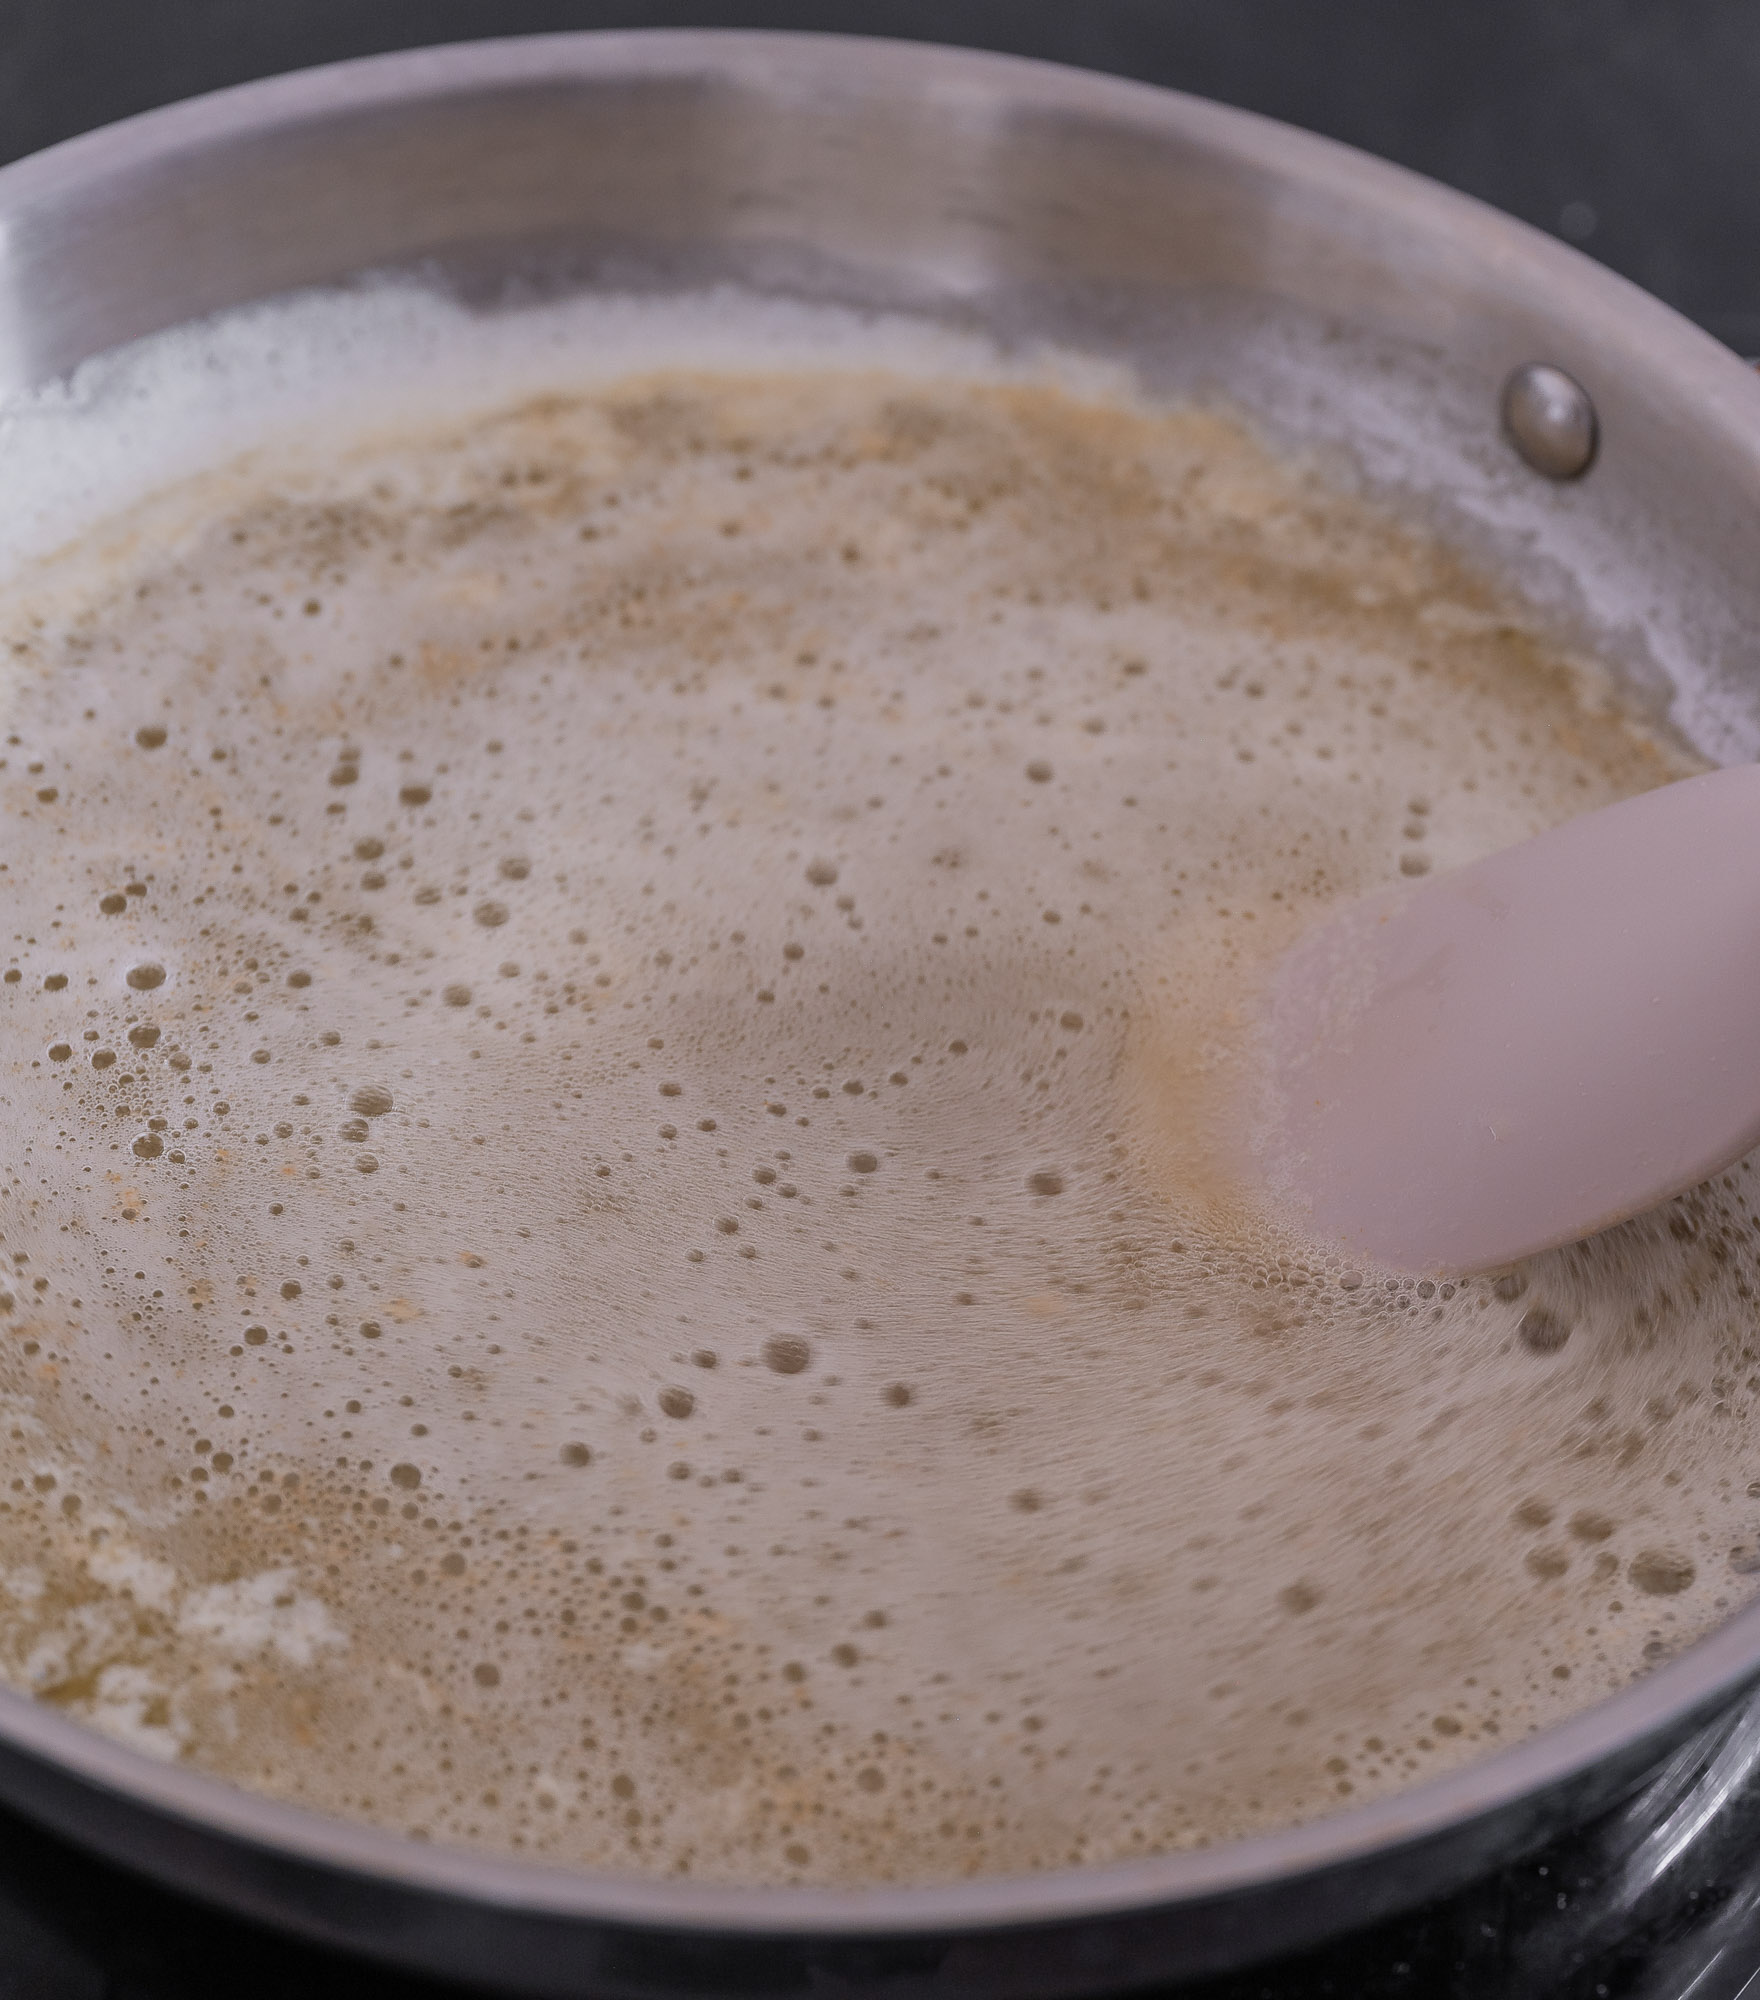
You’re looking for:
If it smells warm and nutty, you’re there.
If it smells bitter, it’s gone too far.
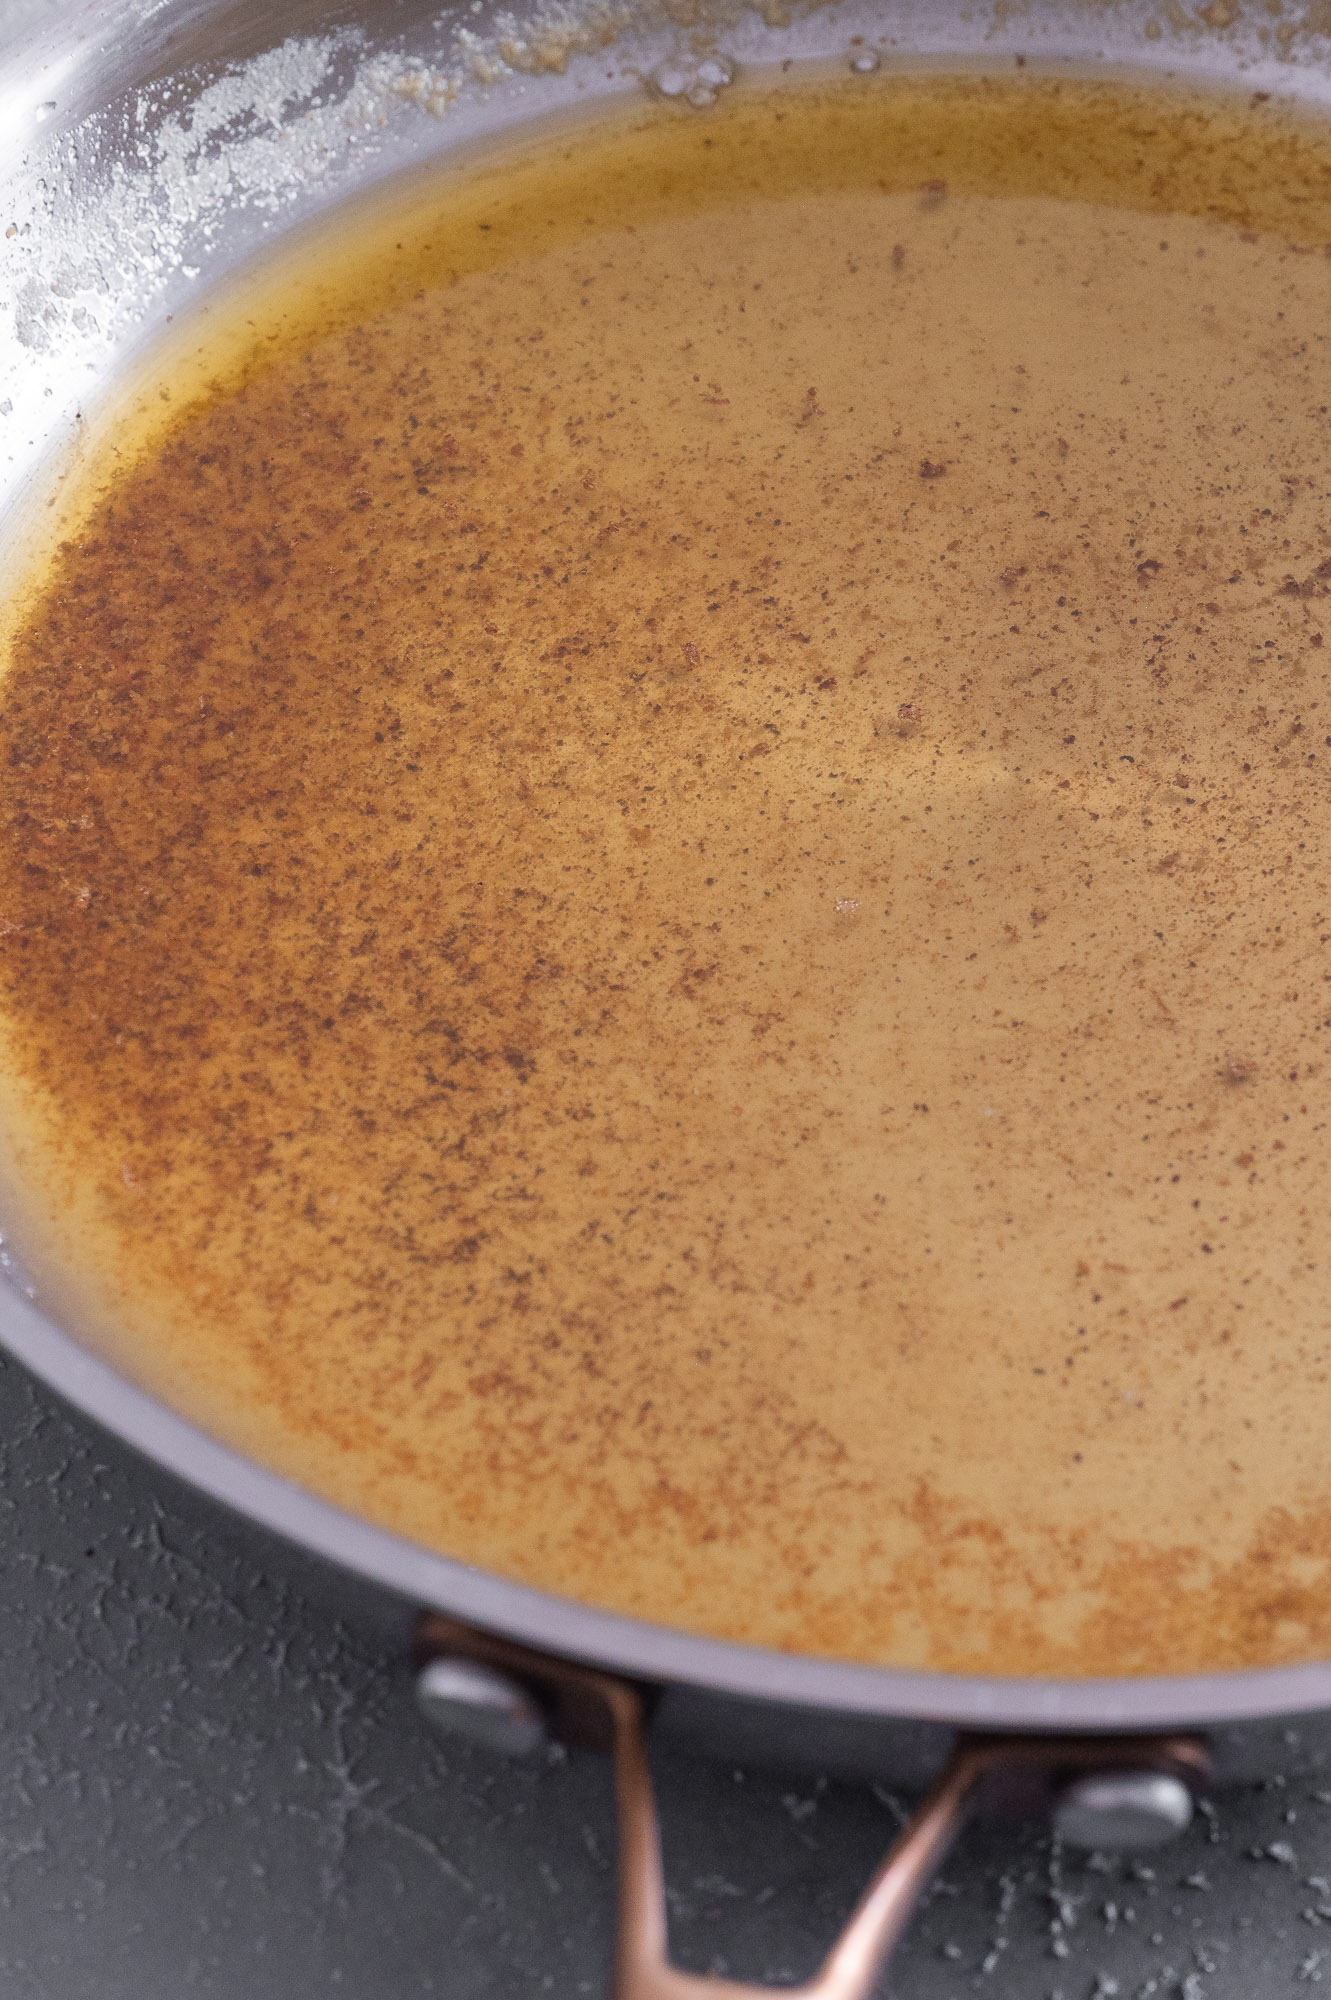
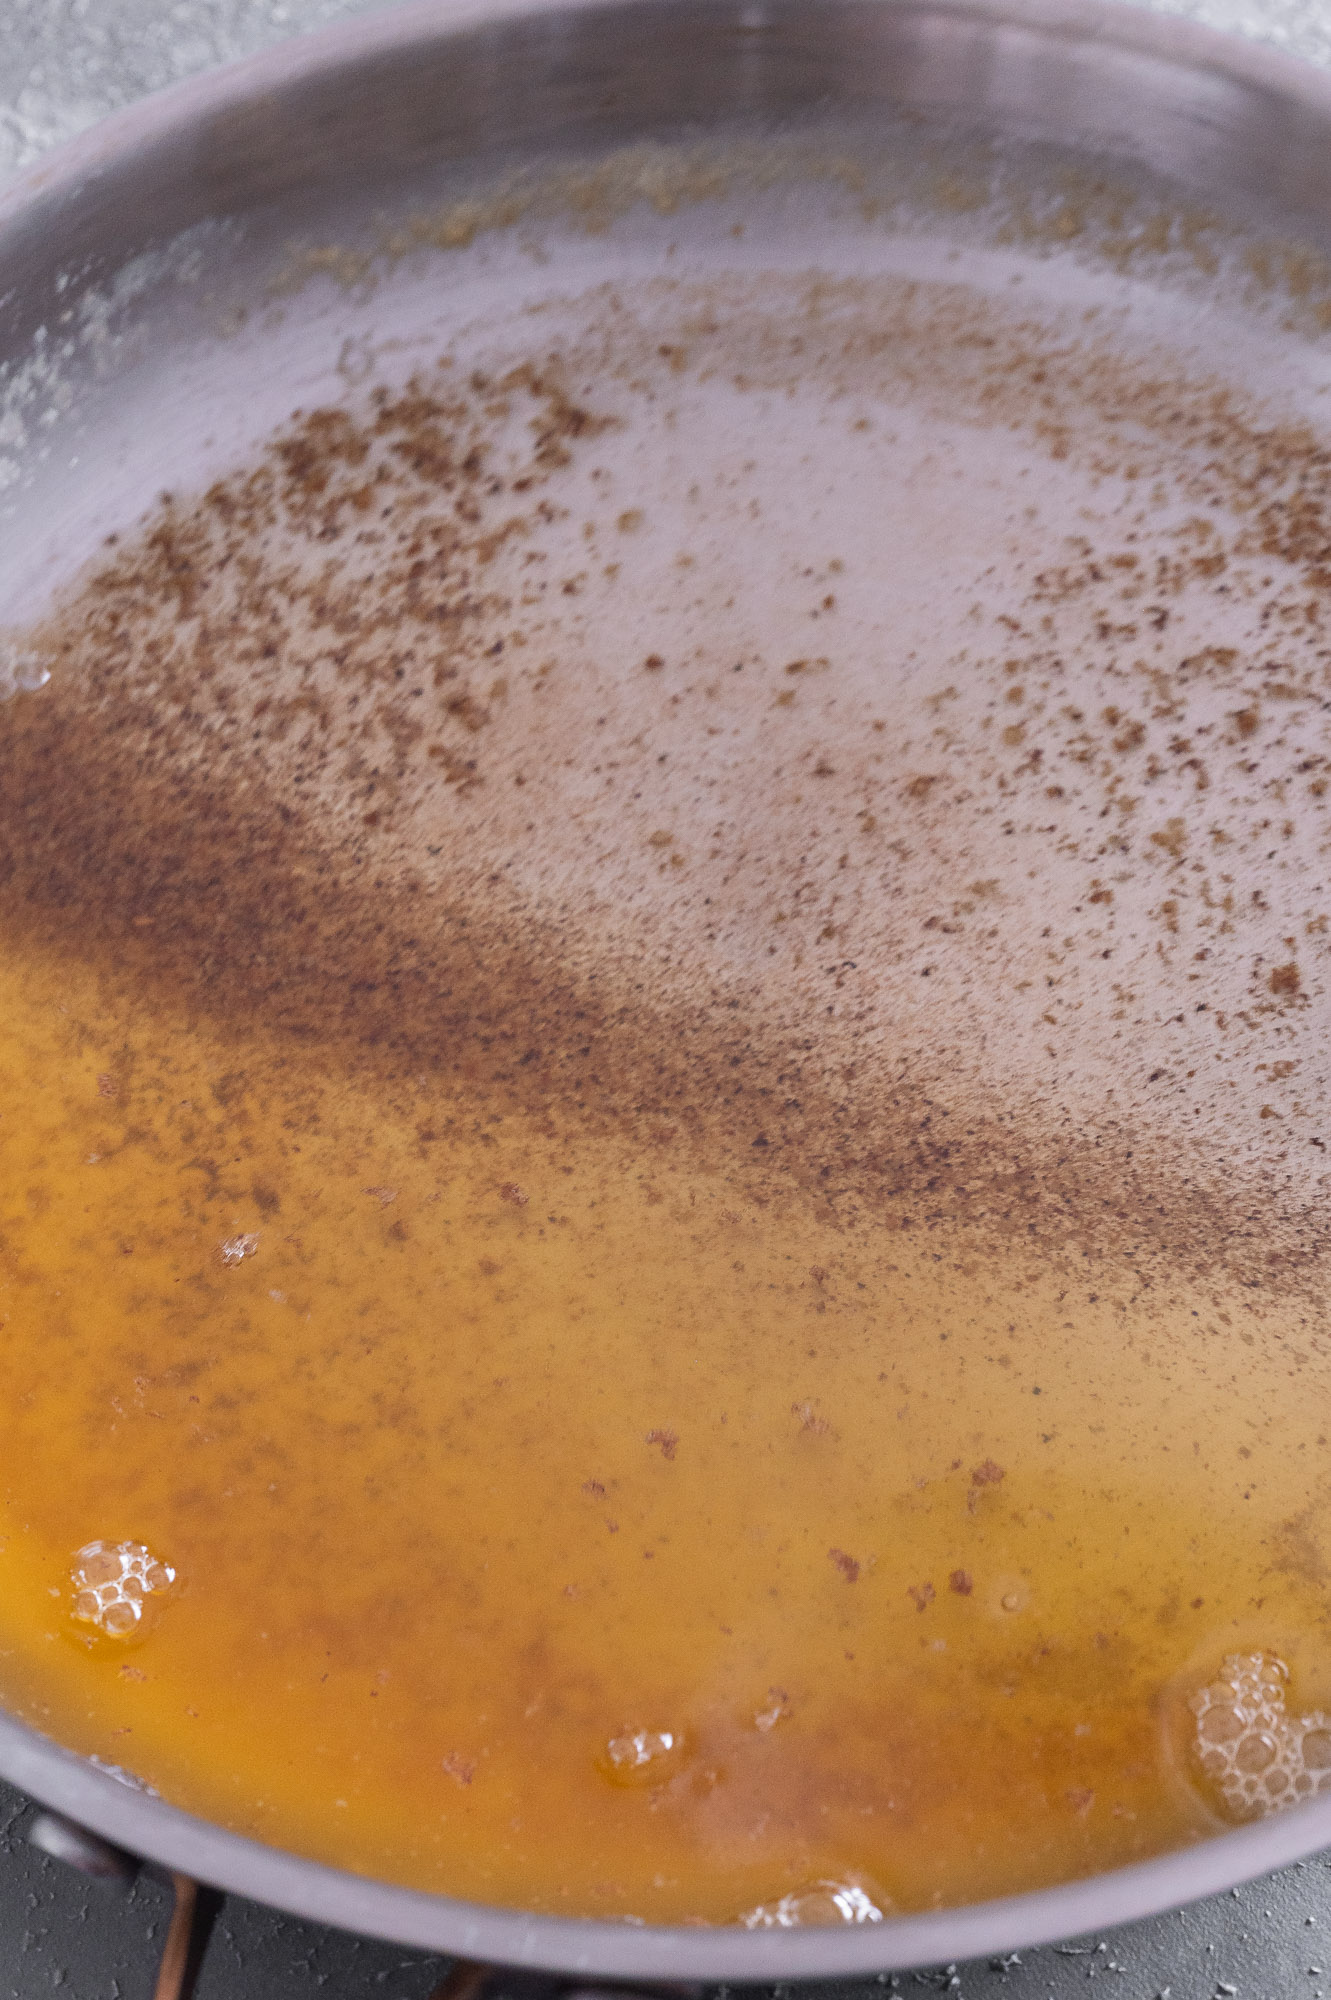
As soon as it’s golden, pour the butter into a heatproof bowl. Stir the brown butter a few times after you pour it into the bowl.
Don’t leave it in the hot pan.
It will keep cooking and can burn.
This step prevents over-browning.
I believe this will happen to everyone, it still happens to me once in a while, because I skip step 1, have time dedicated to brown butter.
Brown butter continues cooking even after you turn off the heat.
Always remove it when it’s golden, not dark.
Those brown flecks are toasted milk solids.
They hold most of the flavor.
Never discard them.
To keep them:
If you lose the flecks, you lose the magic.
For an even deeper, more bakery-style flavor, I like to whisk in 1 to 2 tablespoons of nonfat milk powder after removing the brown butter from the heat.
You can also add the milk powder during the last 1 to 2 minutes of cooking, once the butter has turned amber. This lightly toasts the milk solids and intensifies their nutty, caramelized flavor.
Milk powder is made from concentrated milk solids. When it’s toasted and paired with brown butter, it amplifies the warm, toffee-like notes without changing the moisture of the dough or batter.
This technique works especially well in cookies and bars, where flavor depth matters most.
In my Brown Butter Miso Chocolate Chip Cookies, I use milk powder to intensify the toasted, savory-sweet balance. It adds richness and complexity without making the cookies greasy or heavy.
If you’ve ever wondered why some bakery cookies taste extra “warm” and developed, this is often part of the reason.
High heat burns milk solids before they toast.
You can’t see color changes clearly.
Brown butter needs attention.
By the time it’s dark, it’s usually bitter.
Different recipes call for different forms.
Use for:
Use for:
Perfect for recipes like my Coffee Cake Cookies, where the brown butter must be solidified before creaming. Because this recipe uses a generous amount of butter, chilling it first prevents excess spreading and helps maintain a thick, bakery-style texture.
Use for:
Always follow your recipe’s instructions or use the above as a reference if you are experimenting in your kitchen.
Store brown butter just like regular butter in an airtight container, in the refrigerator up to 5 days. In the freezer up to 2 months
You can brown butter in batches and freeze portions for later.
The water is evaporating. This is normal.
Heat was too high or it cooked too long.
Yes, but it’s harder to control and easier to burn.
Yes. About 15 to 20 percent evaporates. When converting a regular butter recipe to brown butter, I add 1 tablespoon of melted butter per cup to replace some of the lost moisture and keep cakes soft and tender.
It went too far. Start over and lower the heat.
Quick Reminder Notes
Storage
Store brown butter just like regular butter in an airtight container, in the refrigerator up to 5 days. In the freezer up to 2 months
You can brown butter in batches and freeze portions for later.
Allow it to cool according to your recipe’s instructions. Typically this is how I cool my brown butter:
I’m so grateful you’re here! Have a look around at some of my favourite recipes and stay a while.
Get a fresh delivery of only the goods delivered to your inbox.
Leave a Comment
Did you make this recipe? I'd love to hear how it turned out. Leave a comment and share your tweaks.
-- / 5 average rating from -- reviews
Lorem ipsum dolor sit amet, consectetur adipiscing elit. Suspendisse varius enim in eros elementum tristique. Duis cursus, mi quis viverra ornare, eros dolor interdum nulla, ut commodo diam libero vitae erat. Aenean faucibus nibh et justo cursus id rutrum lorem imperdiet. Nunc ut sem vitae risus tristique posuere. uis cursus, mi quis viverra ornare, eros dolor interdum nulla, ut commodo diam libero vitae era
Lorem ipsum dolor sit amet, consectetur adipiscing elit. Suspendisse varius enim in eros elementum tristique. Duis cursus, mi quis viverra ornare, eros dolor interdum nulla, ut commodo diam libero vitae erat. Aenean faucibus nibh et justo cursus id rutrum lorem imperdiet. Nunc ut sem vitae risus tristique posuere. uis cursus, mi quis viverra ornare, eros dolor interdum nulla, ut commodo diam libero vitae era