If you’re looking for the best homemade brownies, skip the box and try this one-bowl recipe. Bonus: no mixer needed. Looking for a different taste, try Brown Butter Brownies with Peanut Butter.
Not a chocolate fan?
If you're here making these brownies for someone else—or just curious what brown butter is all about—but you’re team blondie at heart, be sure to check out my Brown Butter Toffee Blondies or Brown Butter Churro Blondies. They’re chewy, gooey, and packed with rich, caramel-like flavor—no cocoa needed!
Brown butter isn’t just melted butter—it’s butter that’s been cooked until the milk solids toast and turn golden brown. This creates deep, nutty, toffee-like notes that make your brownies taste gourmet, even with basic ingredients.
Here’s what makes this brownie recipe unforgettable:
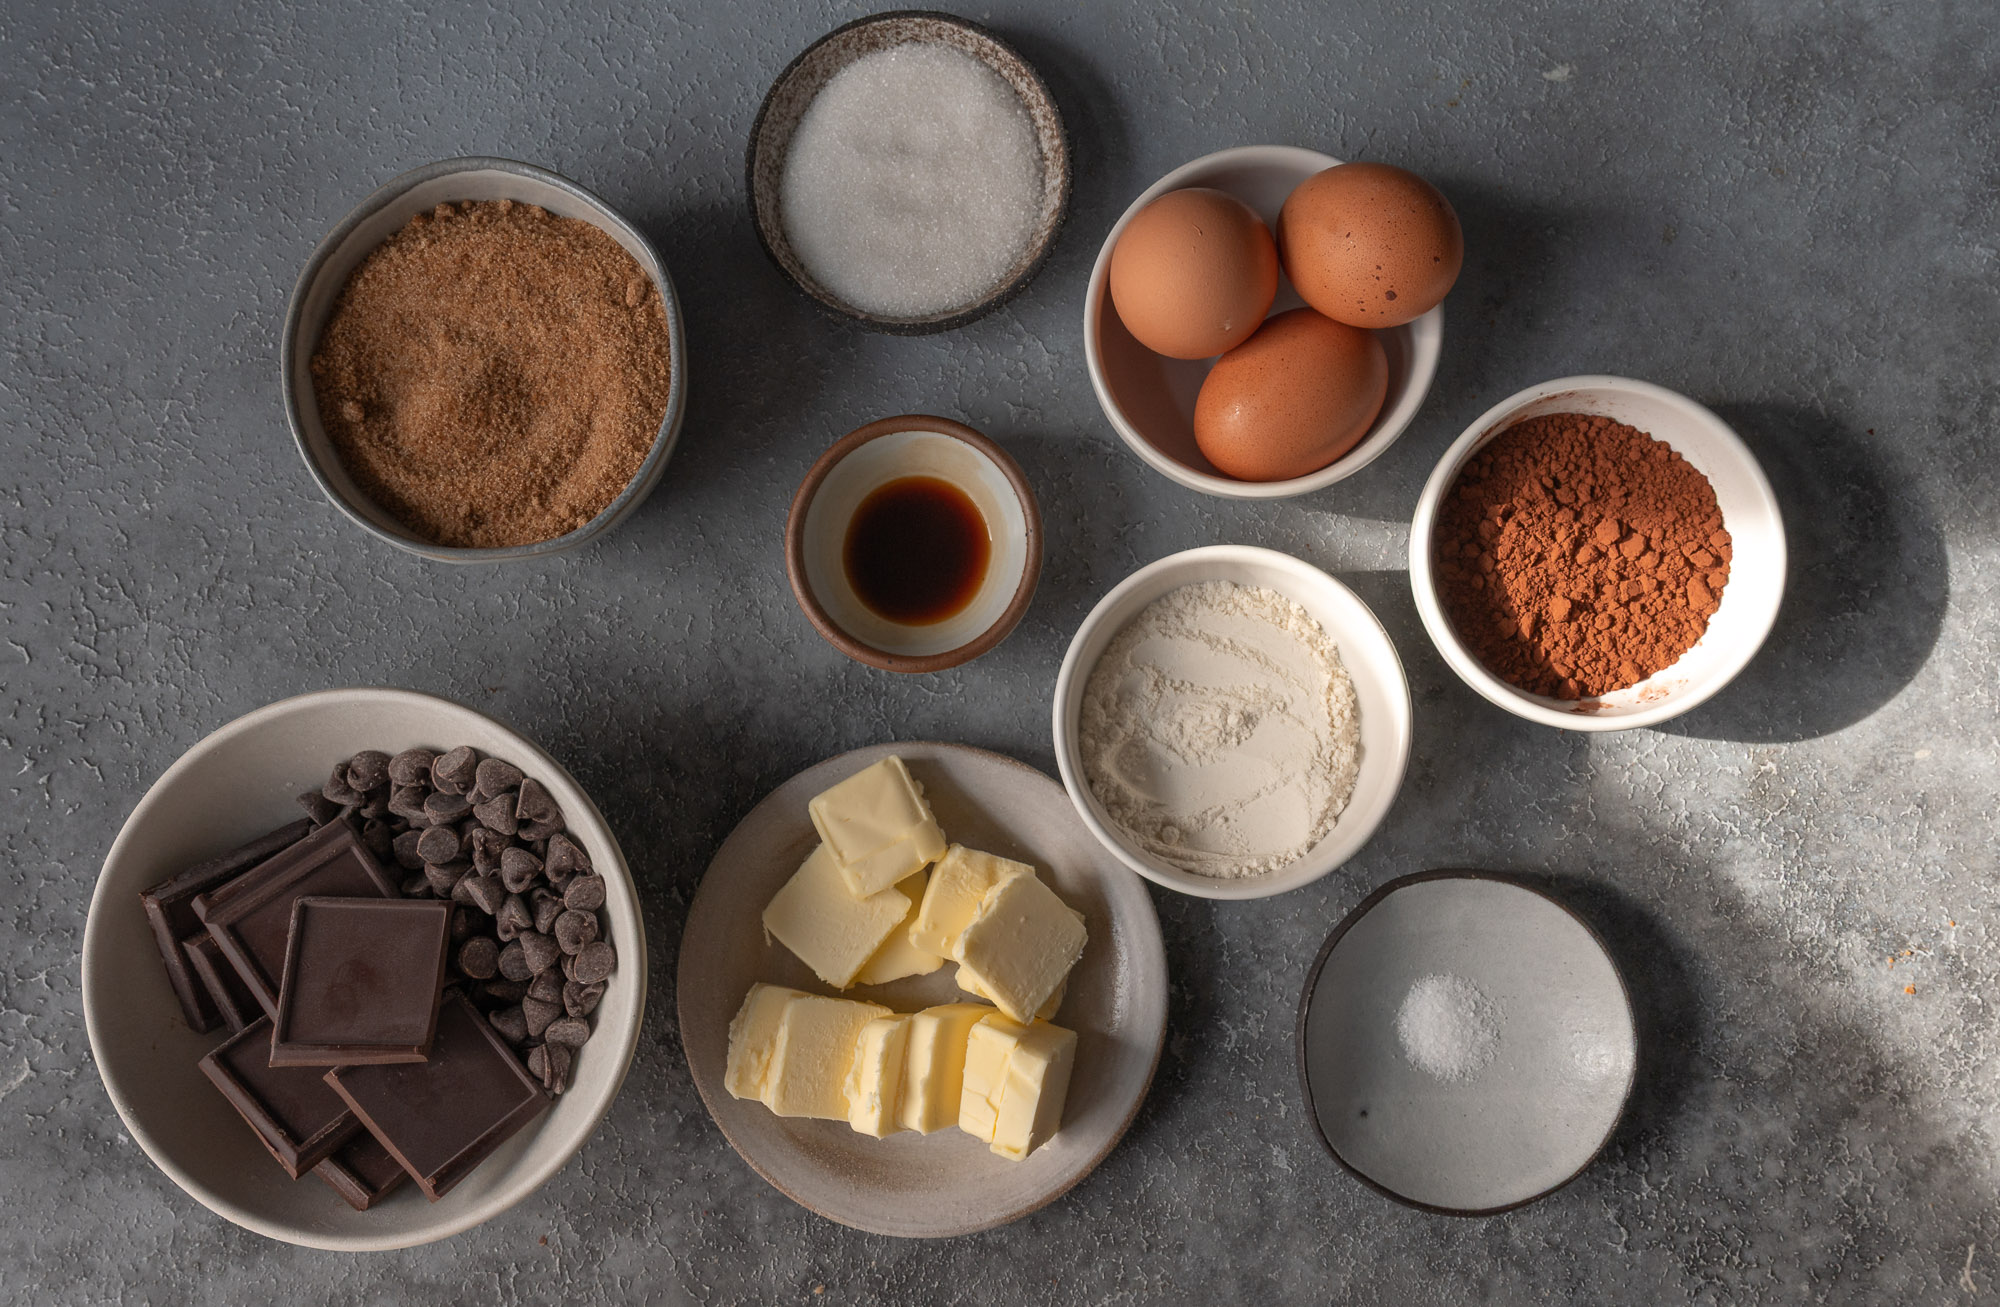
Put the 4 oz of chocolate in a medium bowl and set aside. In a saucepan, melt the butter over medium heat. Continue cooking, stirring often, until the butter foams and turns golden brown with a nutty aroma—about 5–7 minutes.
Remove butter from heat and pour melted brown butter along with the brown leftover bits in the pan into the bowl with the 4 oz baking chocolate. Quickly whisk until smooth. Let it cool slightly for 5 minutes.
Whisk in the brown sugar and white sugar until glossy. Add the eggs, one at a time, whisking well after each. Stir in the vanilla.
Add the flour, salt, and Dutch-process cocoa powder. Stir gently until just combined.
Gently fold in the semi-sweet chocolate chips for melty pools of goodness in every bite.
Pour batter into a parchment-lined 8x8-inch pan. Bake at 350°F (175°C) for 20-25 minutes, or until the edges are set and the center has a slight jiggle.
Cool completely before slicing (if you can wait!).
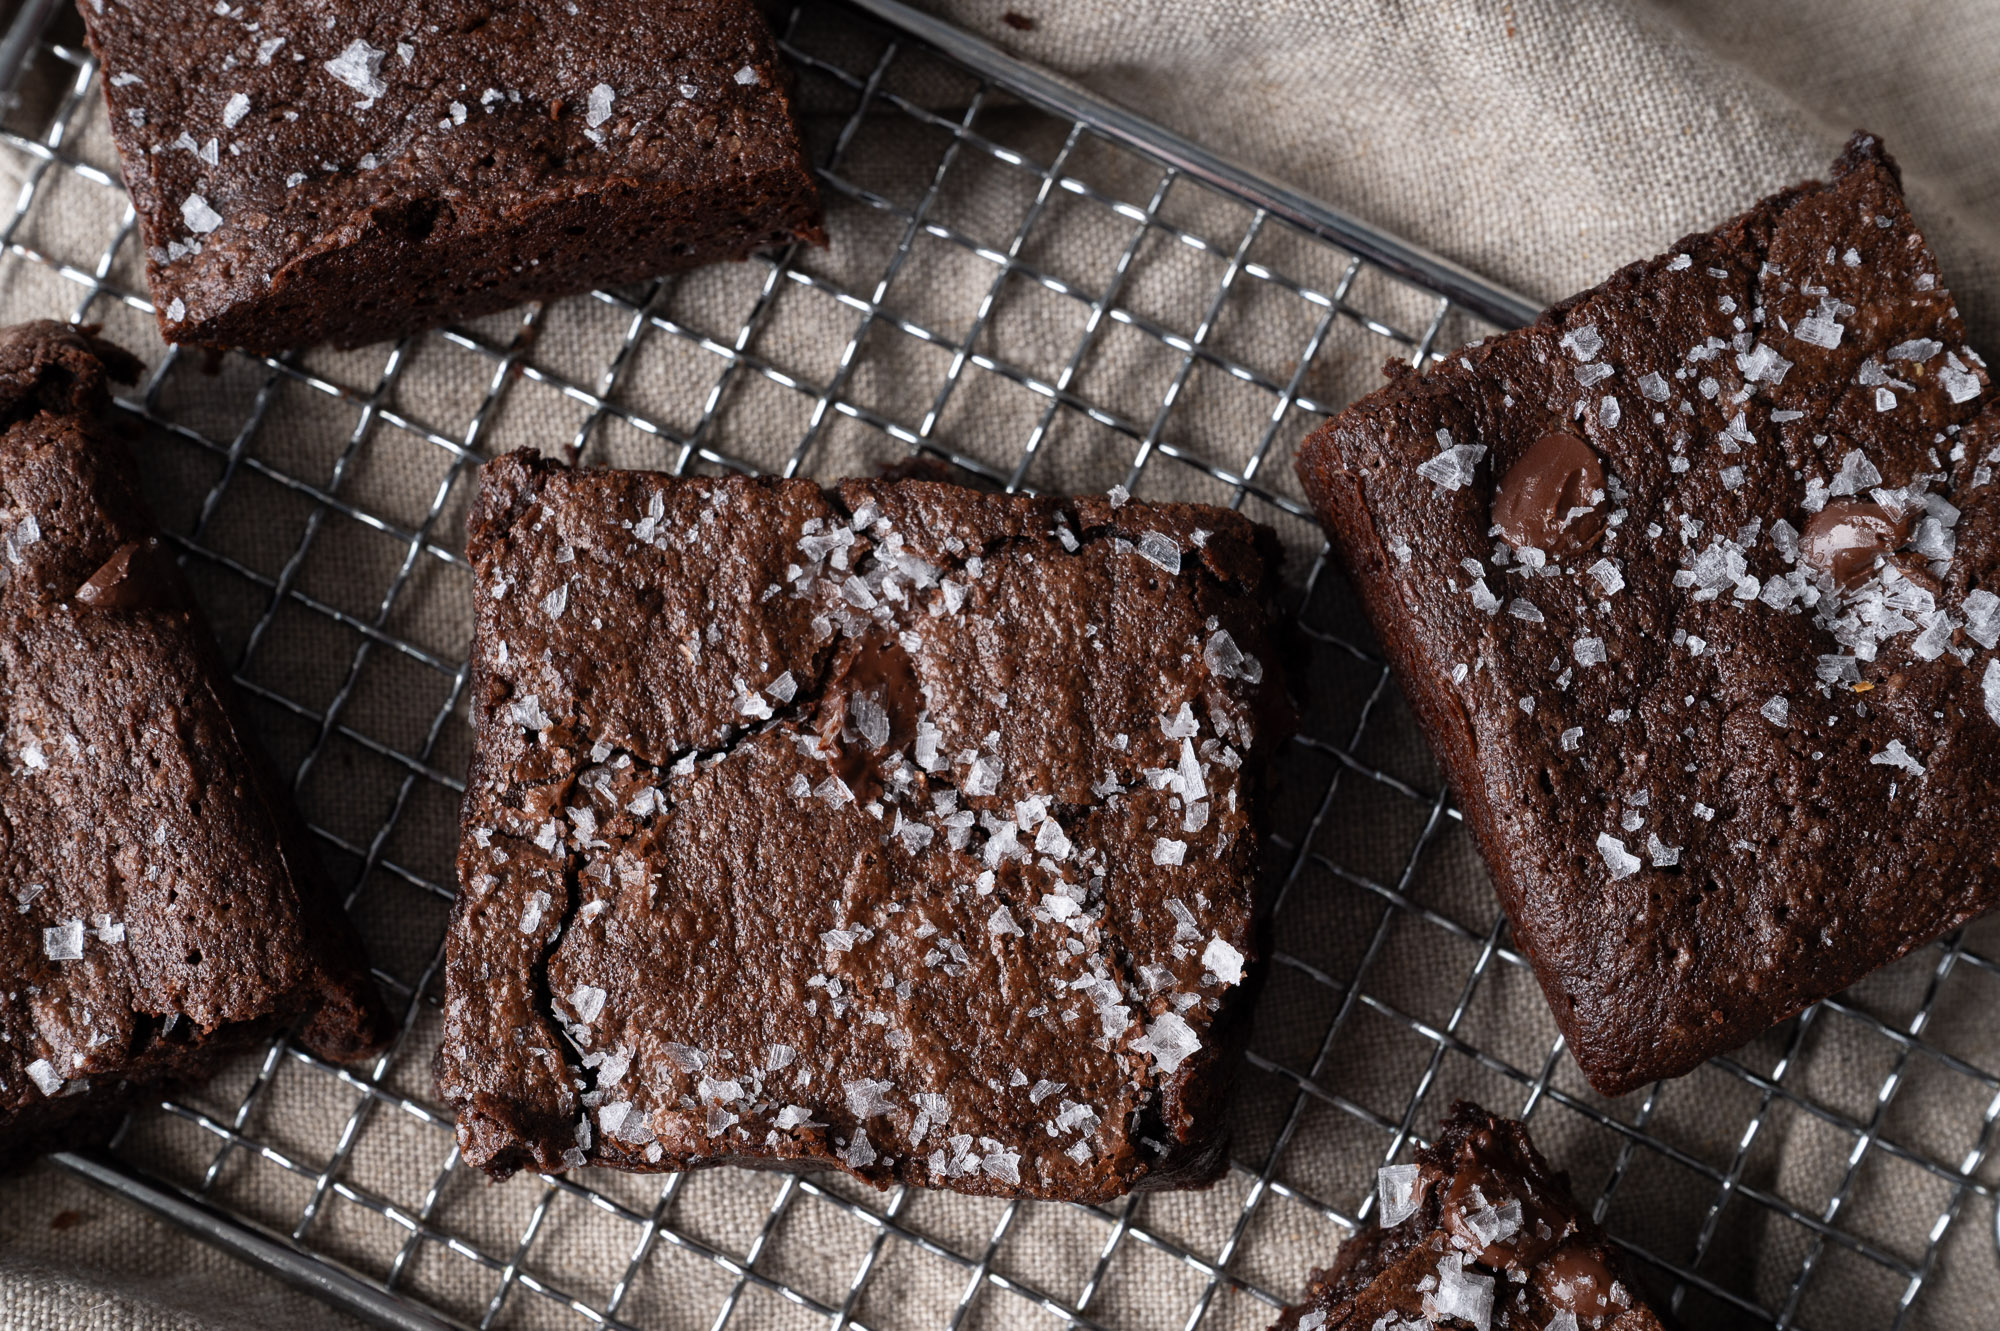
You baked the perfect pan of brownies—now let’s slice them like a pro. Here's how to get clean, sharp edges every time:

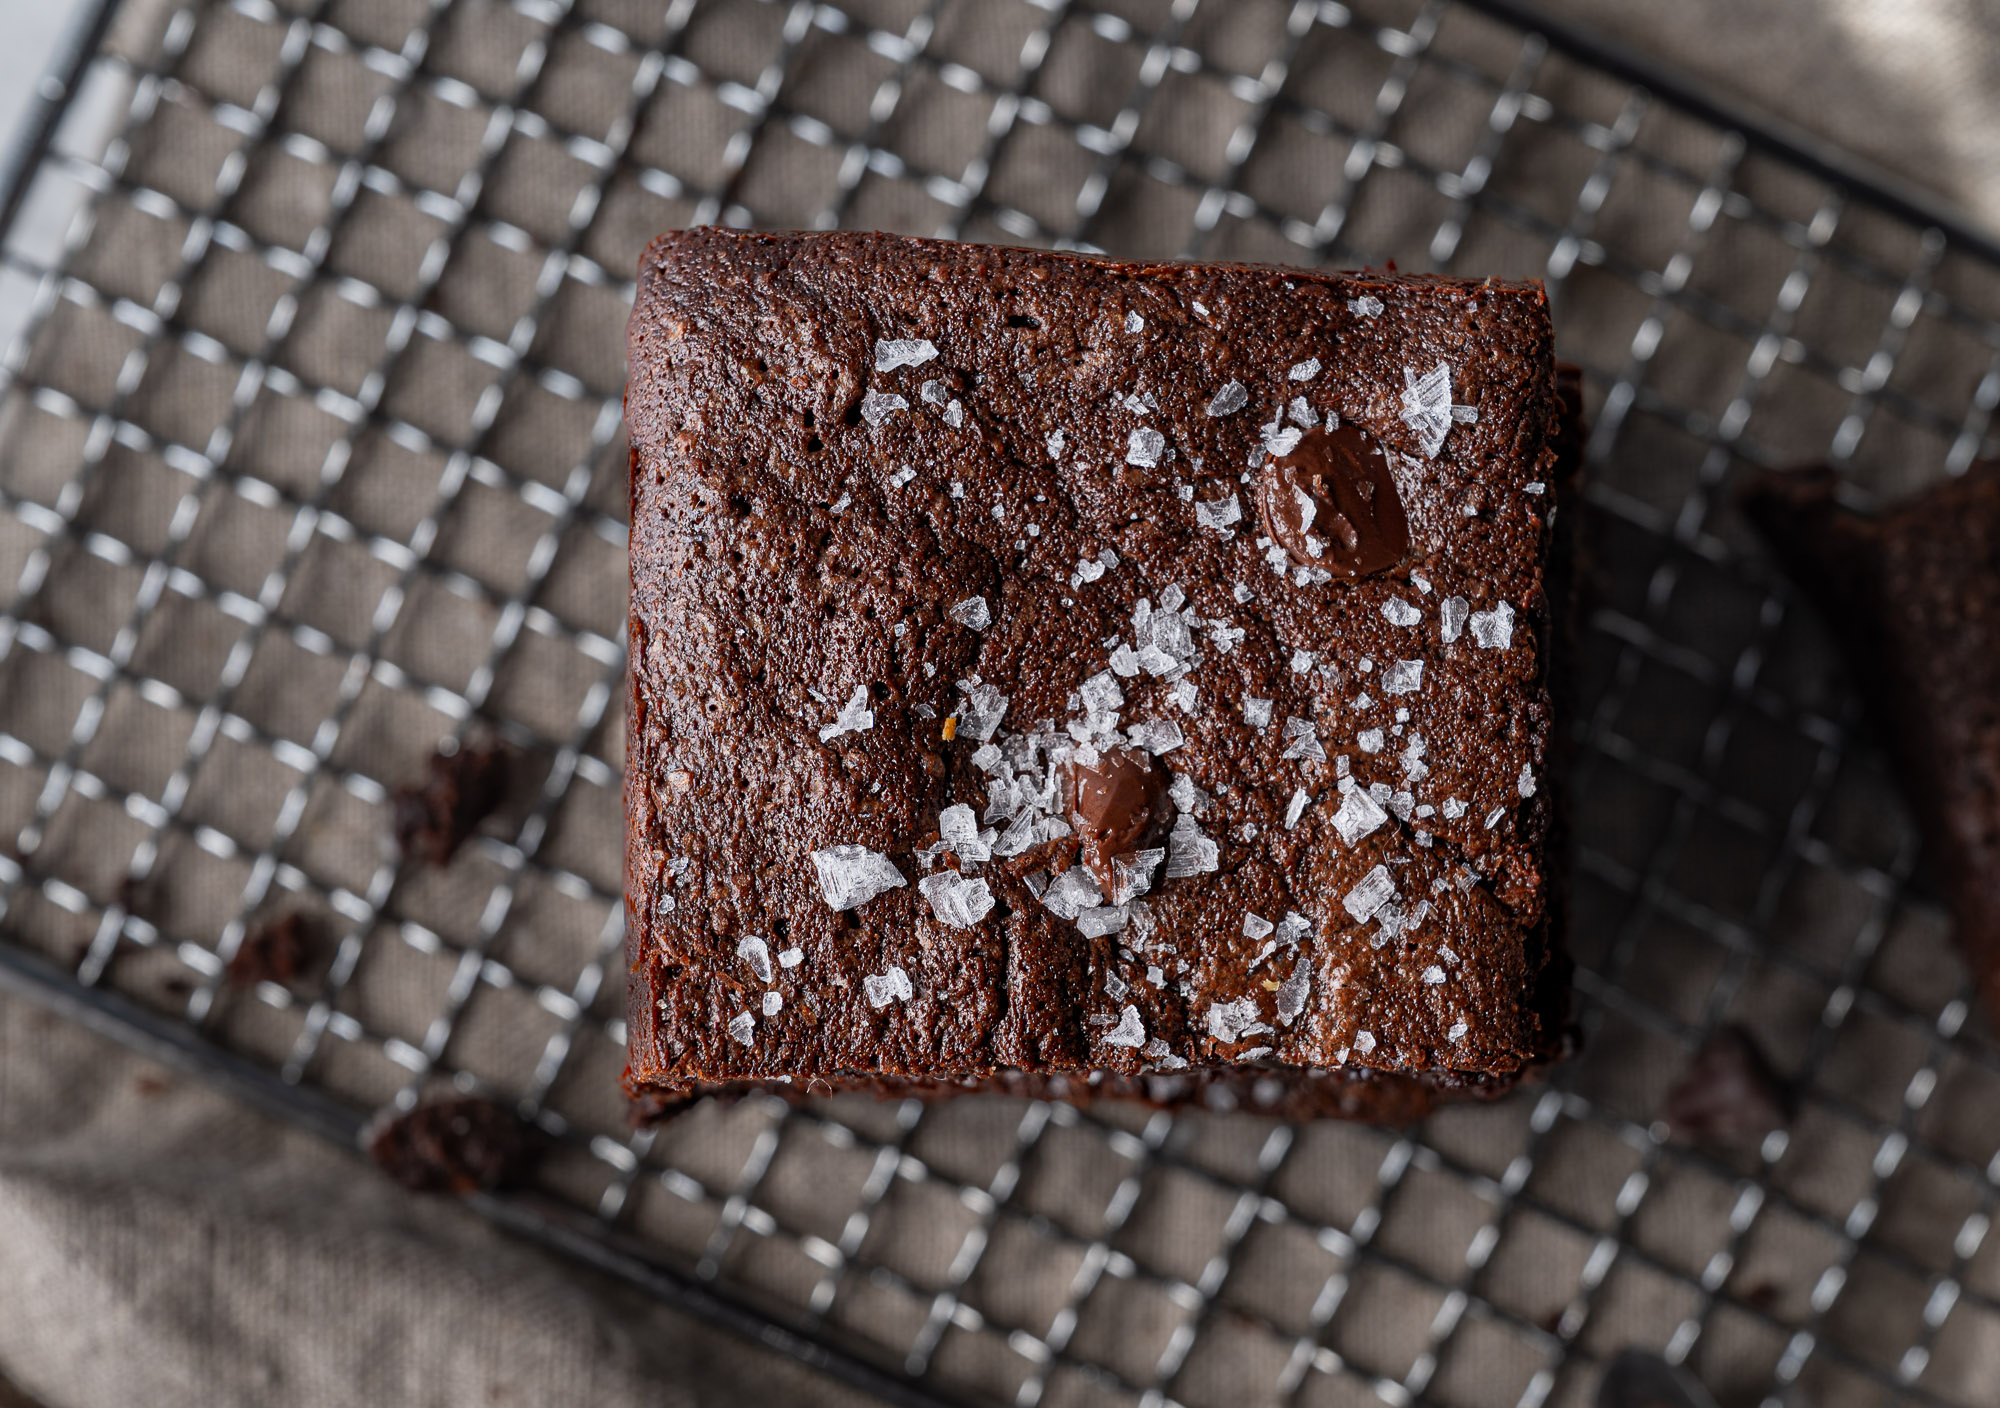
That shiny, crackly crust on brownies? It’s not magic—just smart technique. The recipe written you will still get that crinkly top, but it won't be as extreme, if you want a crackly top you can try my Crackly-Top Fudge Brownies. To adopt that crackly trip to this recipe, here is how to guarantee that crackly top every time:
Whisk the sugar and eggs together until pale and glossy (1–2 minutes). This creates a meringue-like layer on top that sets into a shiny crust as it bakes.
Best to do with an electric handheld whisk.
Melting chocolate into your hot browned butter helps create a smooth batter that supports the glossy finish. It emulsifies fats and sugars evenly.
Once you add the flour and cocoa, stir gently just until combined. Overmixing can make brownies dense and dull the top.
I’m so grateful you’re here! Have a look around at some of my favourite recipes and stay a while.
Get a fresh delivery of only the goods delivered to your inbox.
Leave a Comment
Did you make this recipe? I'd love to hear how it turned out. Leave a comment and share your tweaks.
-- / 5 average rating from -- reviews
Lorem ipsum dolor sit amet, consectetur adipiscing elit. Suspendisse varius enim in eros elementum tristique. Duis cursus, mi quis viverra ornare, eros dolor interdum nulla, ut commodo diam libero vitae erat. Aenean faucibus nibh et justo cursus id rutrum lorem imperdiet. Nunc ut sem vitae risus tristique posuere. uis cursus, mi quis viverra ornare, eros dolor interdum nulla, ut commodo diam libero vitae era
Lorem ipsum dolor sit amet, consectetur adipiscing elit. Suspendisse varius enim in eros elementum tristique. Duis cursus, mi quis viverra ornare, eros dolor interdum nulla, ut commodo diam libero vitae erat. Aenean faucibus nibh et justo cursus id rutrum lorem imperdiet. Nunc ut sem vitae risus tristique posuere. uis cursus, mi quis viverra ornare, eros dolor interdum nulla, ut commodo diam libero vitae era