This is a quick, fun recipe that feels special without feeling fussy. Proof that simple doesn’t mean boring. It’s also one of those family‑bonding bakes that turns into a small kitchen memory. My daughter loves helping stir and press the dough into the pan, and my husband quietly ate most of the batch over three days which tells you everything you need to know. This is a quick, fun recipe that feels special without feeling fussy.

Unsalted Butter (3/4 cup / 170g)
Browned for nutty, caramel depth. Starting with slightly more butter accounts for water loss during browning.
Milk Powder (1 tbsp)
Boosts toasted milk solids, making the brown butter flavor more bakery‑style and intense.
Light Brown Sugar (3/4 cup / 155g)
Provides moisture, chew, and a warm molasses note.
Granulated Sugar (1/3 cup / 65g)
Balances sweetness and helps the bars set without becoming cakey.
Egg + Egg Yolk (room temperature)
The extra yolk adds richness and chew without extra spread.
Vanilla Extract (1 tbsp)
Rounds out the flavor and complements the brown butter.
Espresso Powder (1/2 tsp)
Doesn’t make the bars taste like coffee. It deepens the chocolate flavor.
All‑Purpose Flour (1 2/3 cups / 200g)
Measured by spooning and leveling to avoid dense bars.
Cornstarch (1 tbsp)
Keeps the texture soft and chewy.
Salt (3/4 tsp)
Balances sweetness and sharpens flavor.
Baking Soda (1/2 tsp) + Baking Powder (1/4 tsp)
This combo gives controlled lift and chew without puffiness.
Chocolate Chips or Chopped Chocolate (1 cup / 170g)
Chopped chocolate melts into pools; chips keep defined bites. Either works.

Melt sliced butter in a light‑colored saucepan over medium heat. Stir as it foams, then watch for golden brown milk solids and a nutty aroma. Remove from heat and stir in milk powder. Cool until just warm, not hot. Check out my post on how to brown butter.
Brown the butter as described above. Cool till warm to touch for about 10 minutes.

Preheat oven to 350°F (175°C). Line an 8×8‑inch pan with parchment, leaving overhang for lifting.
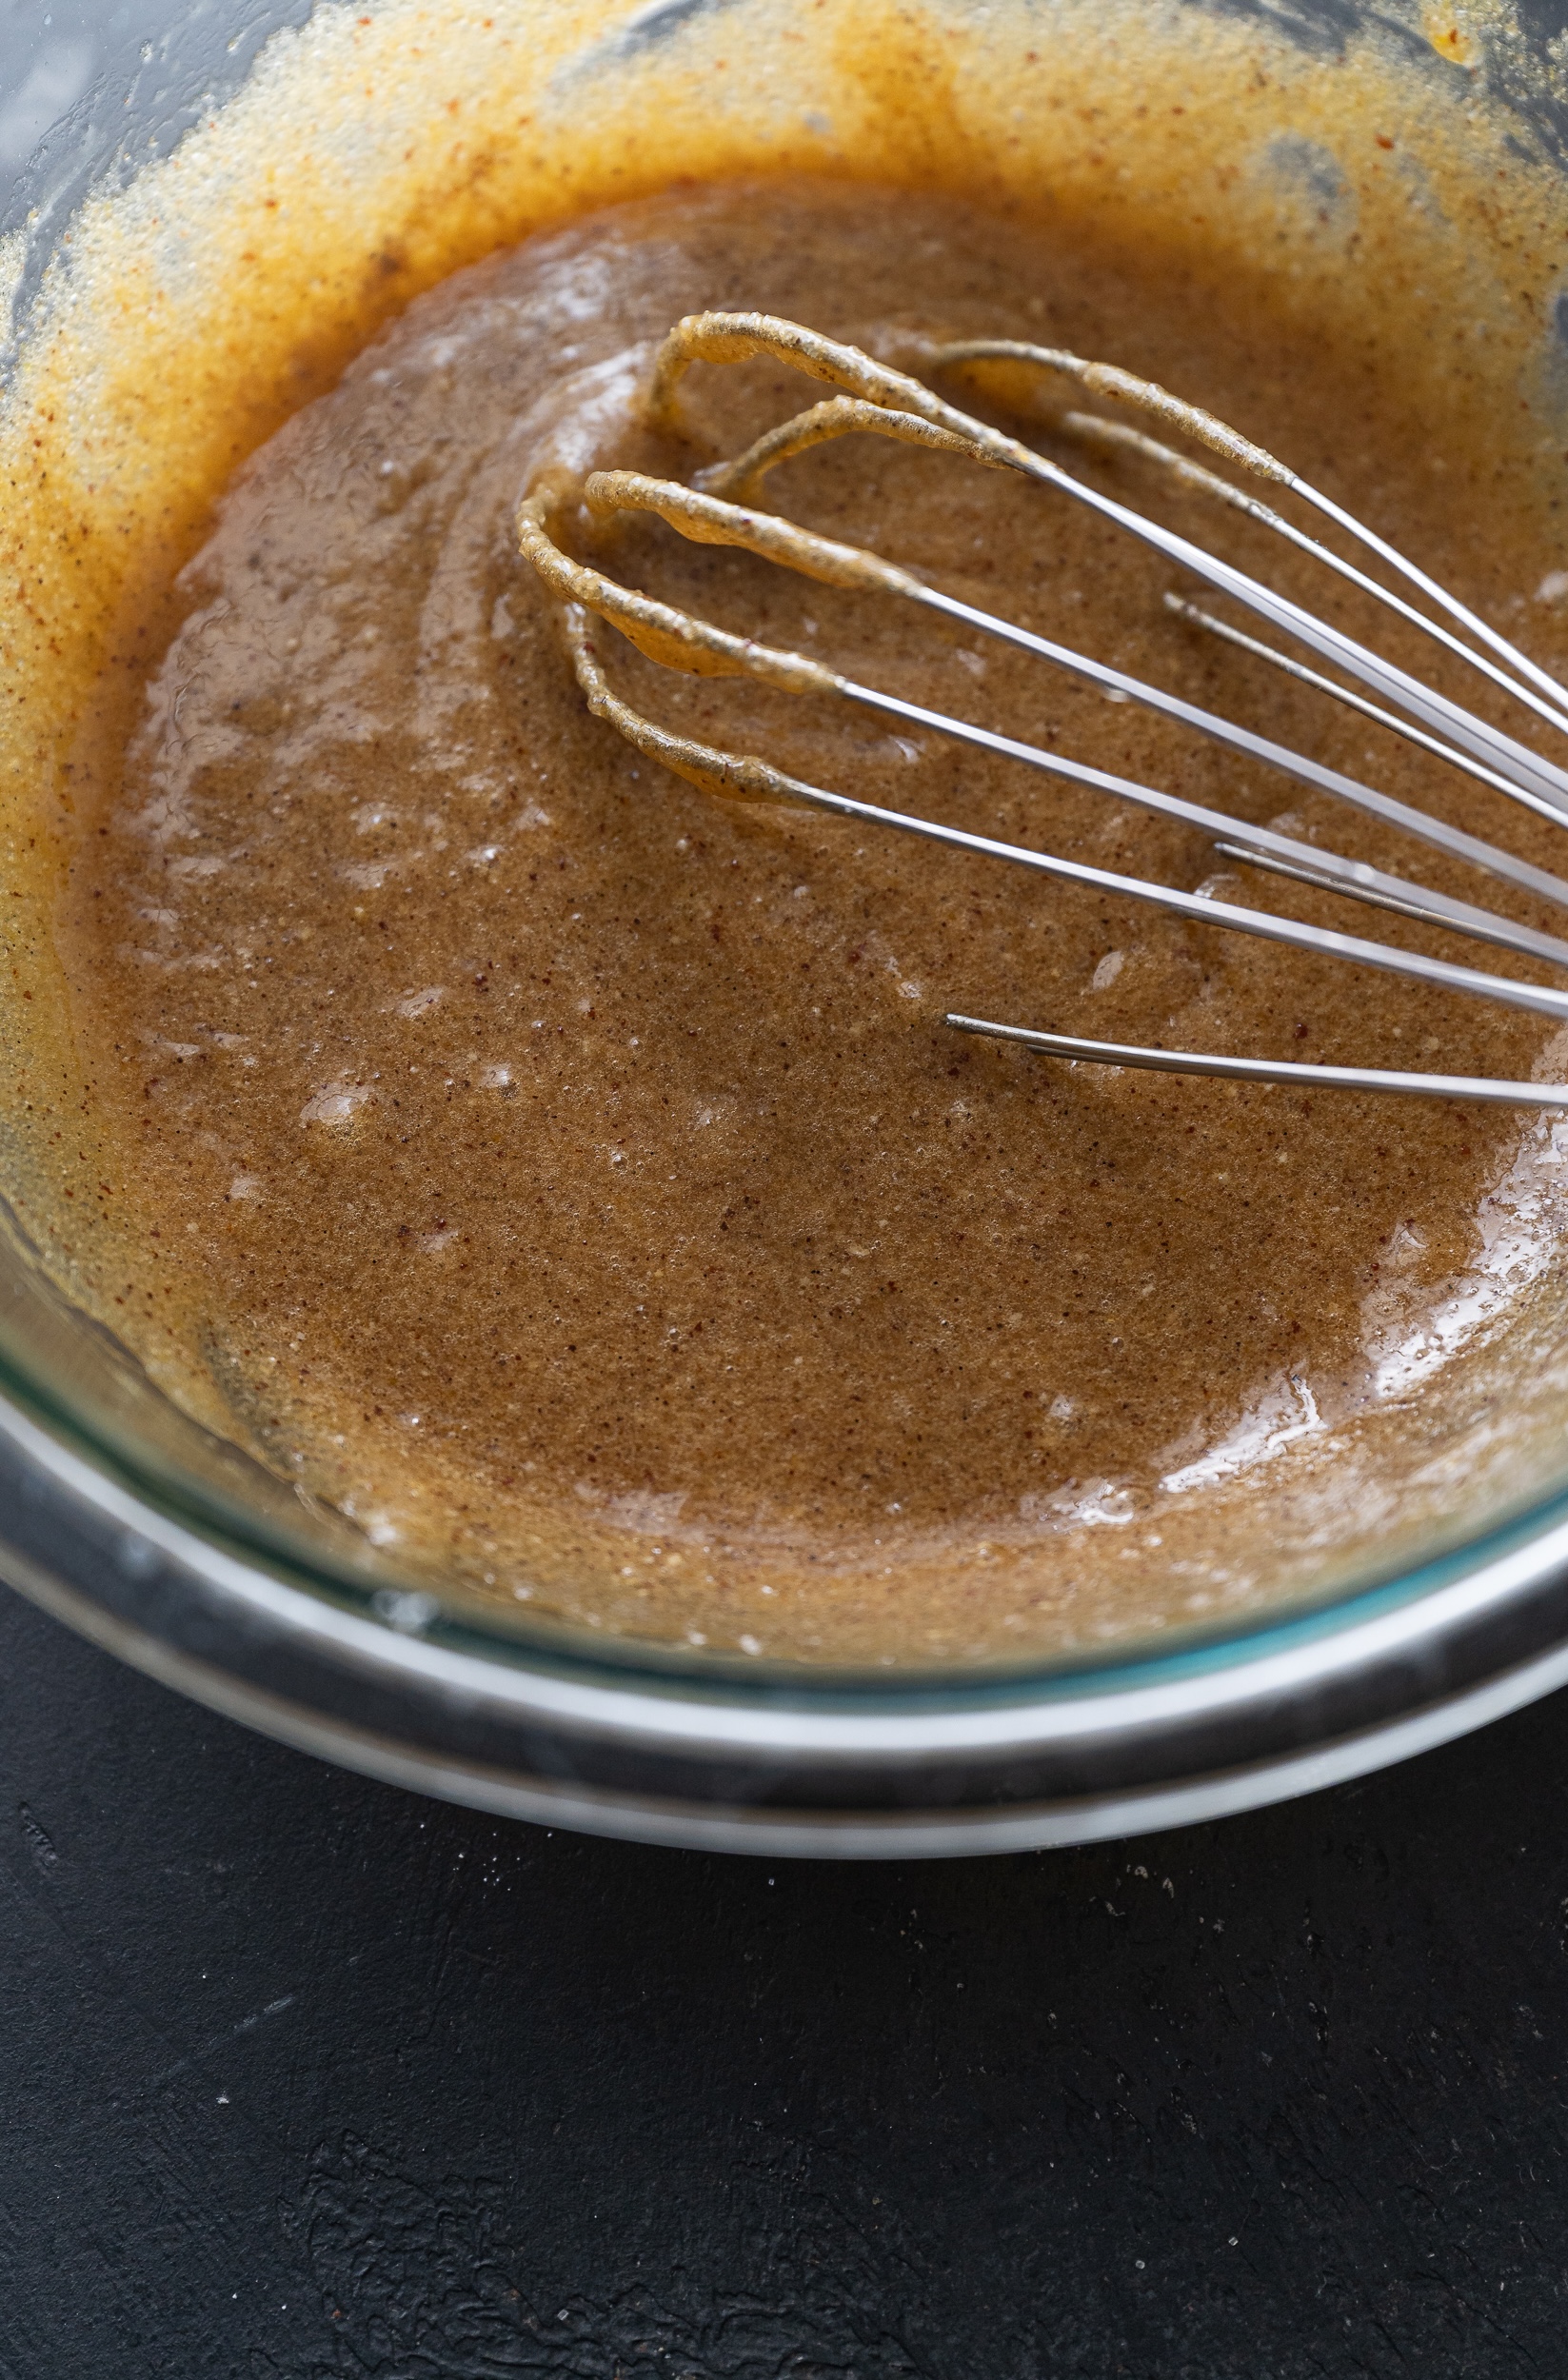
In a large bowl, whisk cooled brown butter with brown sugar and granulated sugar until glossy. Add egg, egg yolk, vanilla, and espresso powder. Whisk until smooth and glossy.

Sprinkle flour, cornstarch, salt, baking soda, and baking powder over the bowl. Fold gently just until you see small streaks of flour.
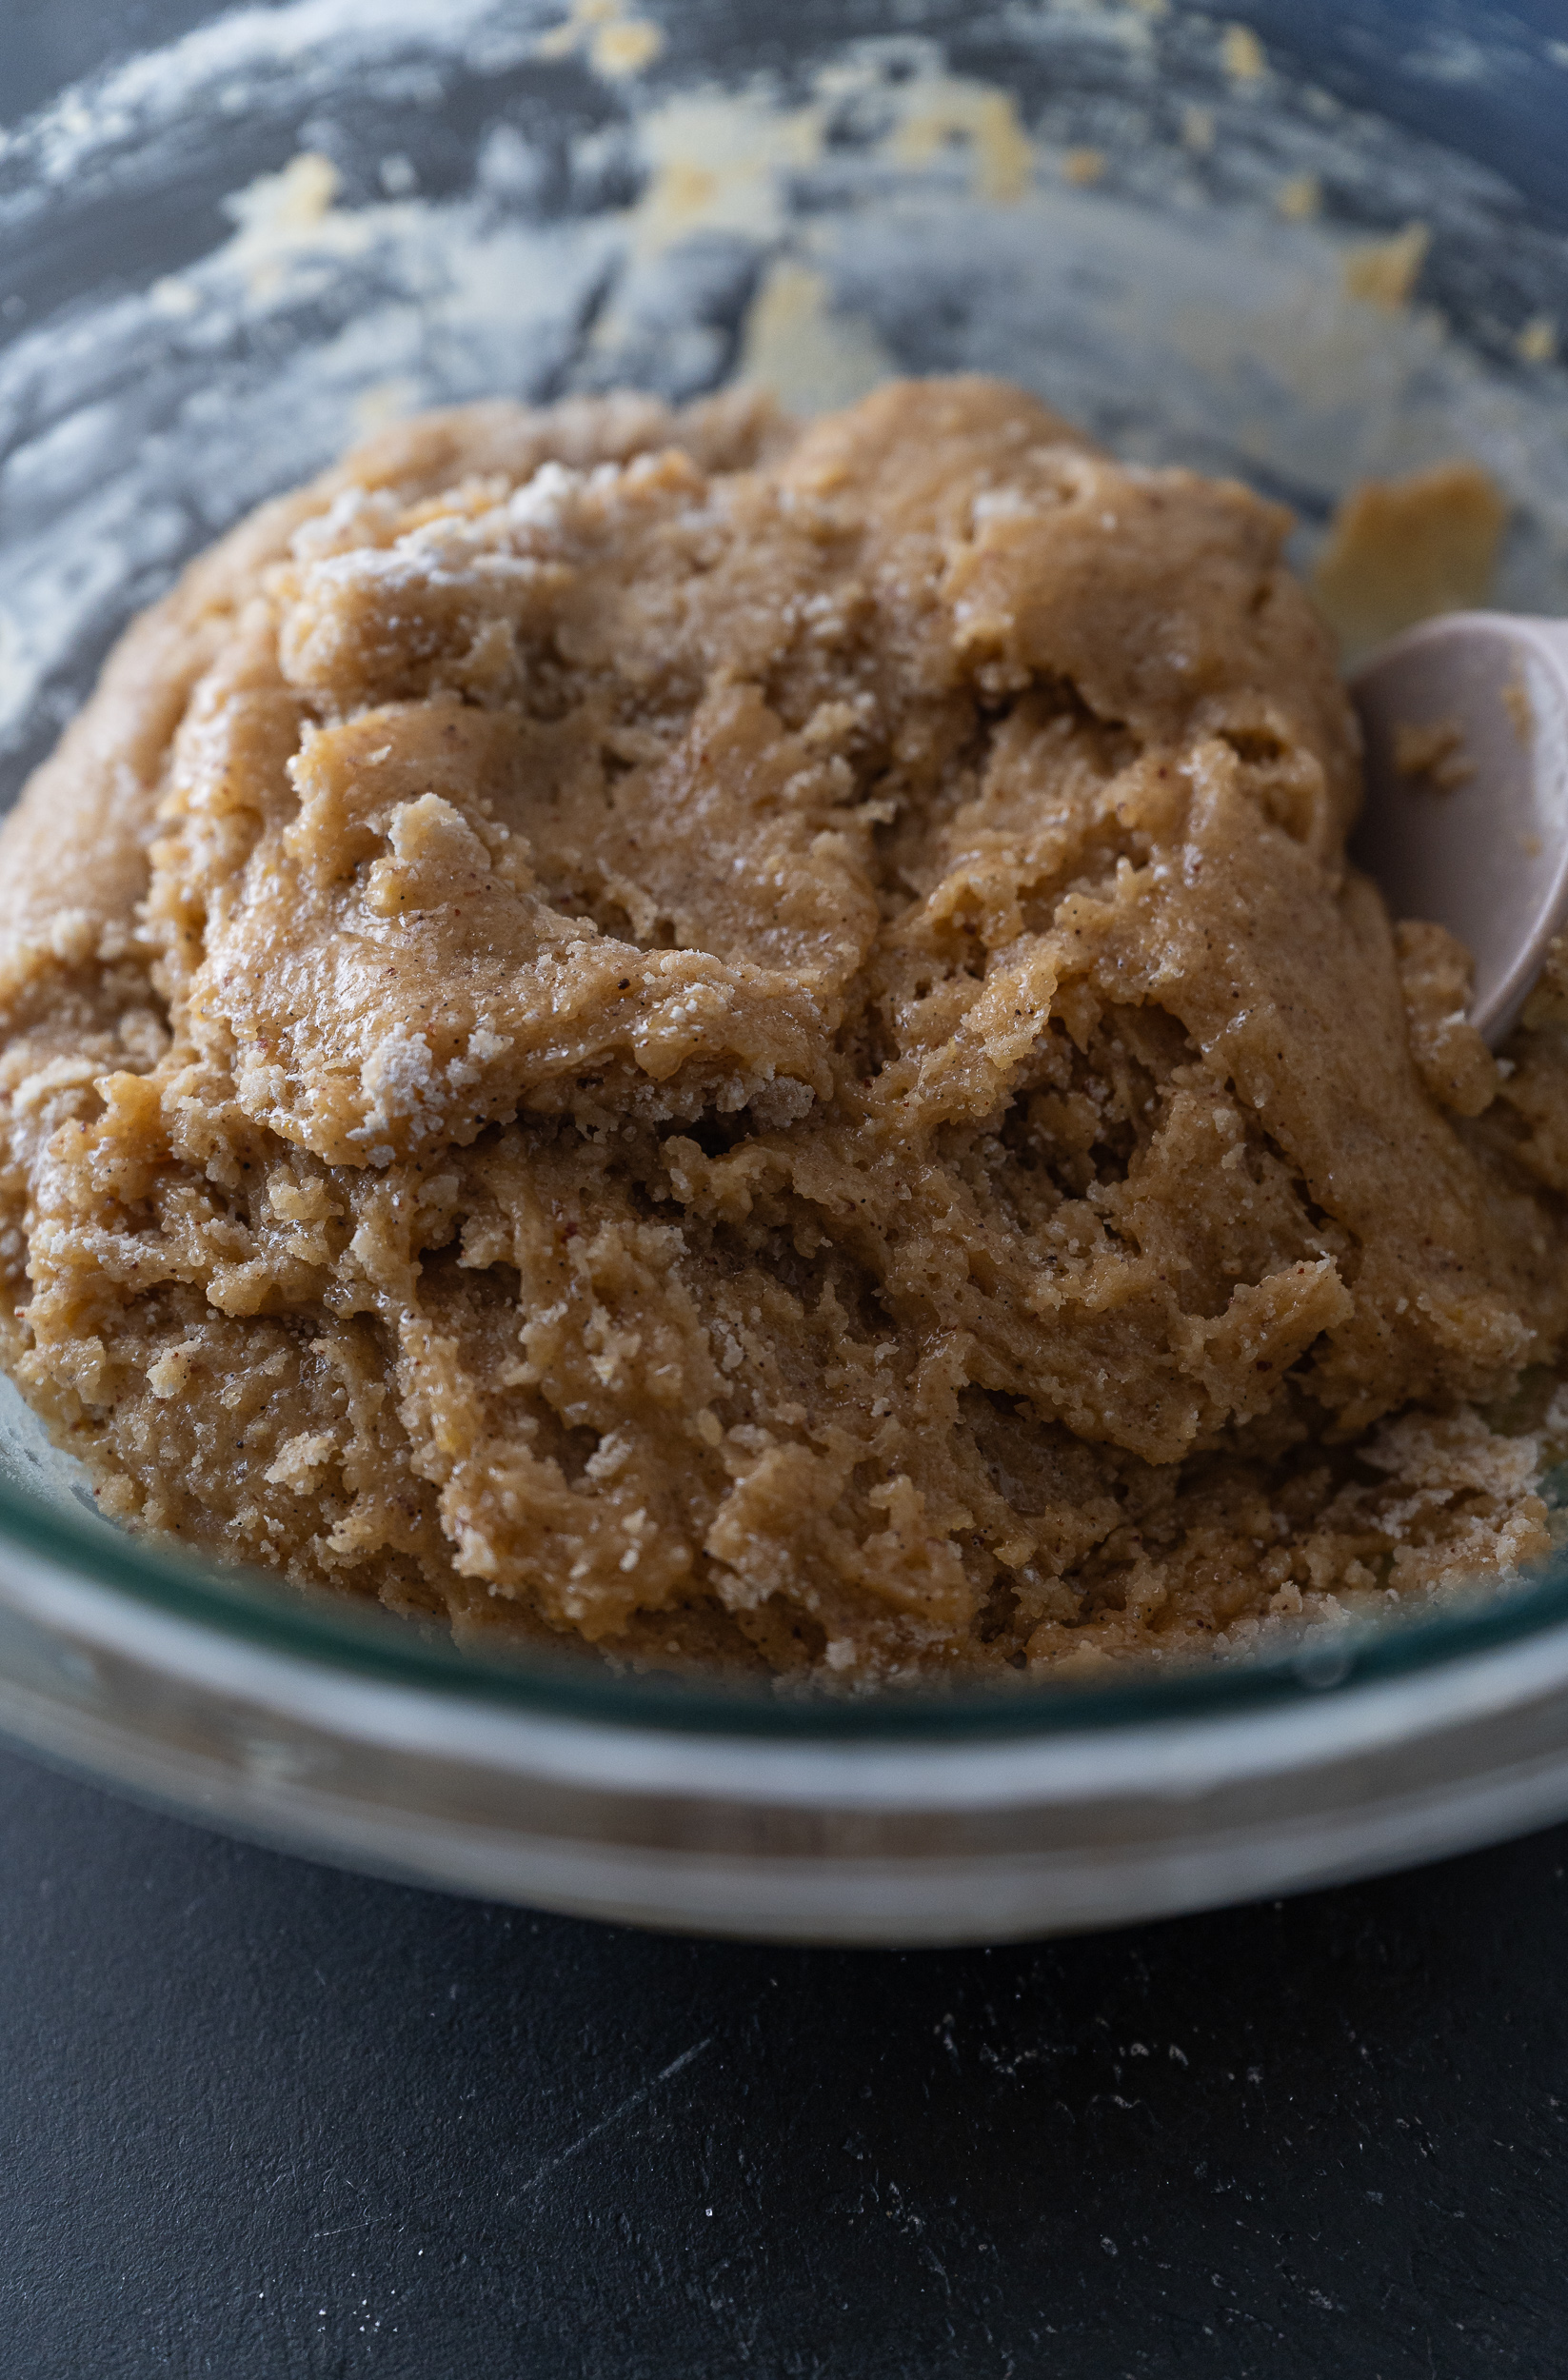
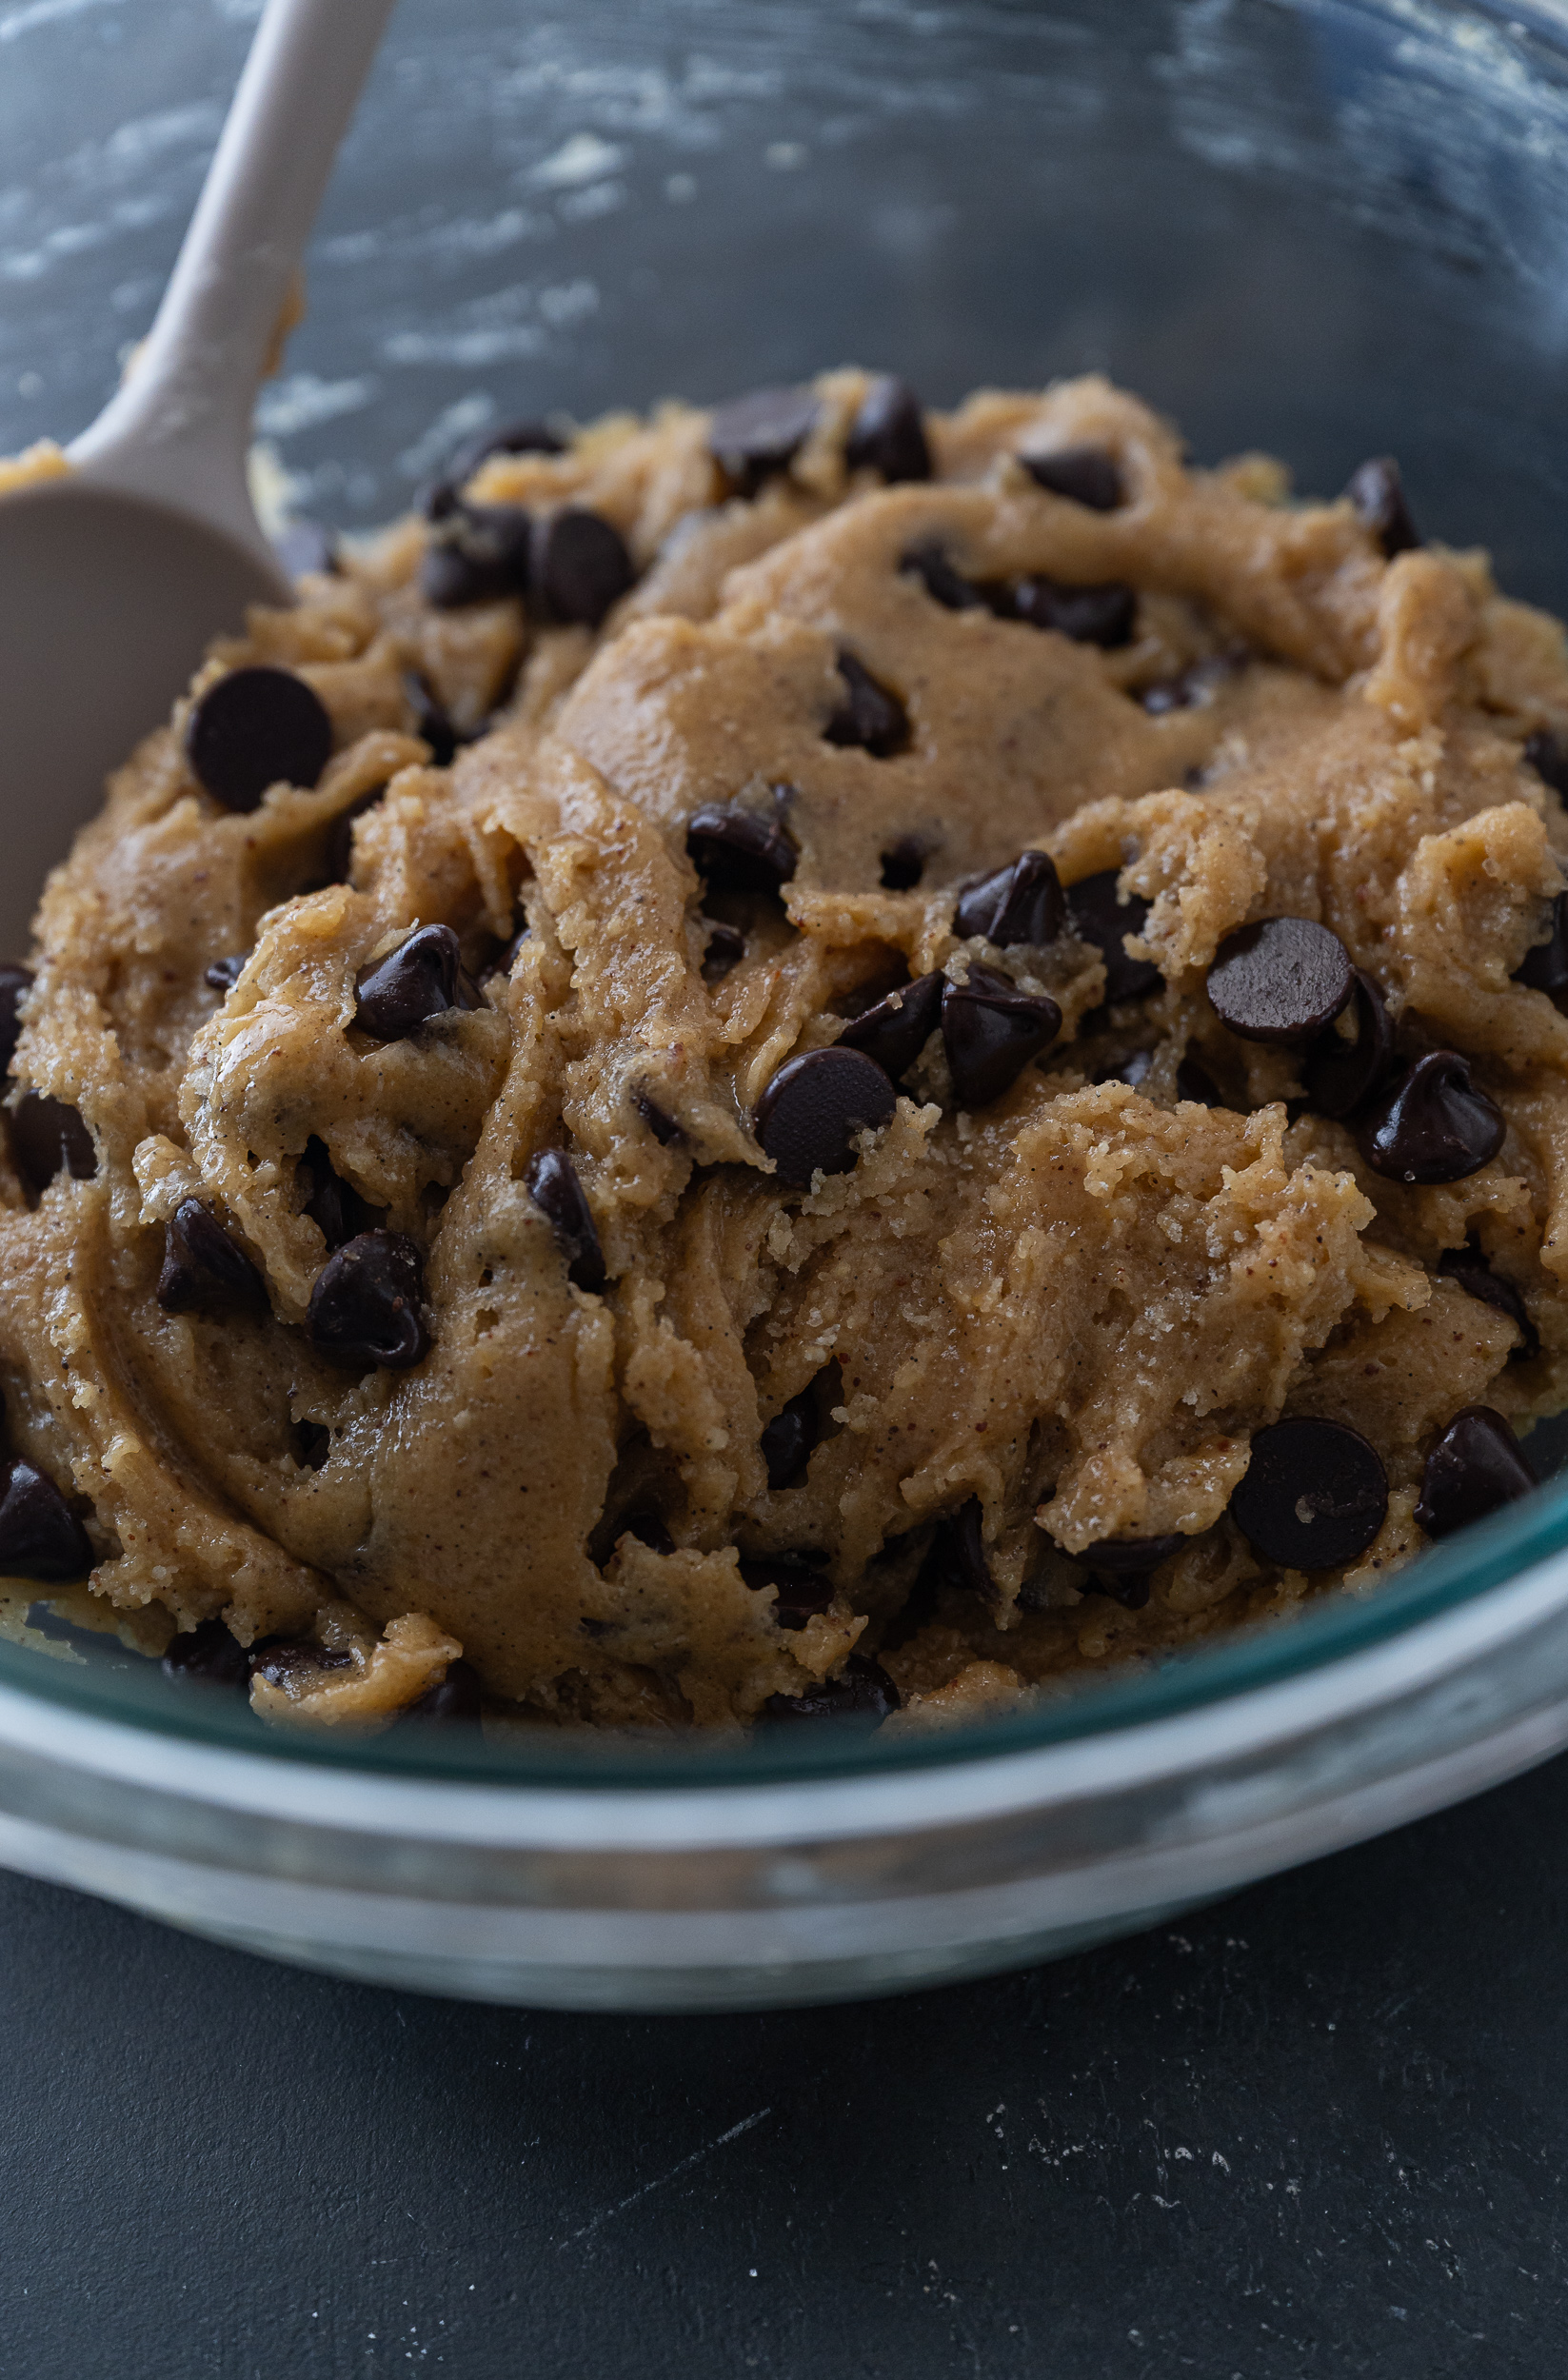
Stir in chocolate chips or chopped chocolate and mix till combined and don't see anymore streaks of flour.
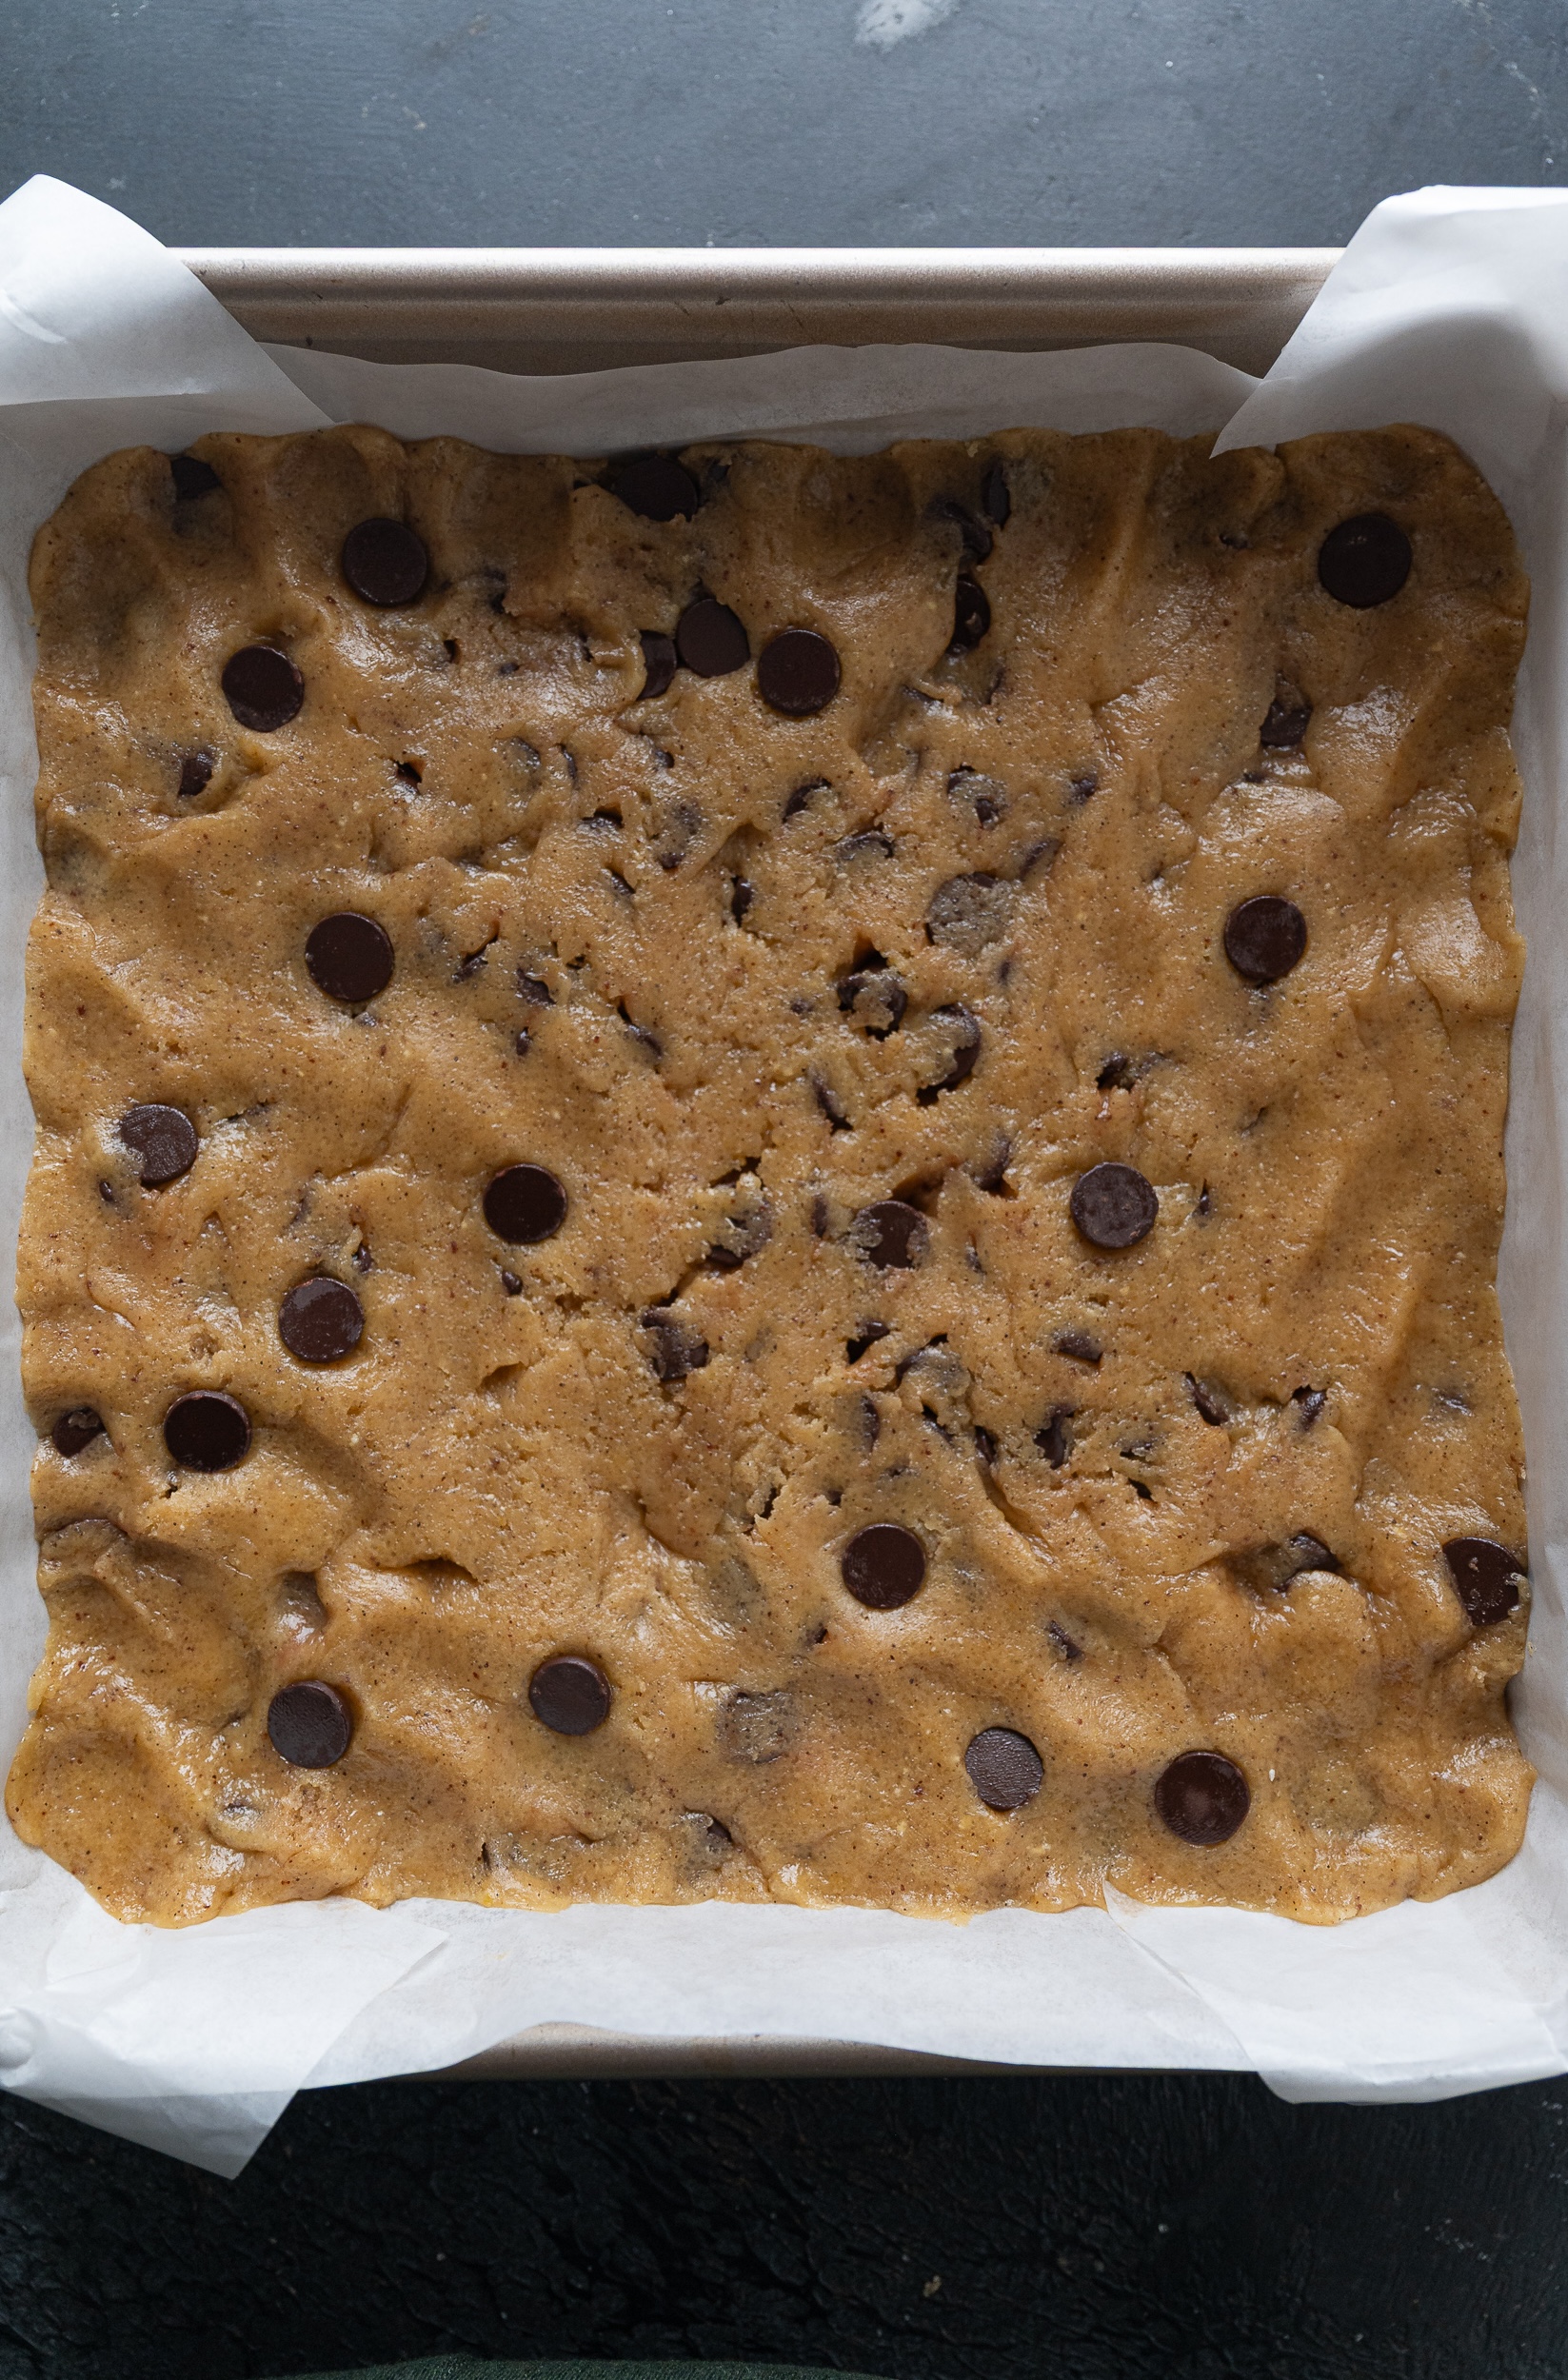
Transfer dough to prepared pan. Use lightly damp fingers or an offset spatula to gently press the dough into an even layer, paying attention to corners. Do not compact the dough.
Bake for 18–20 minutes. Start checking at 15 minutes. Edges will be golden and set. The center will look slightly underbaked, but not wet. With a toothpick insert in the middle of the cookie bar. It will show moist crumbs, not raw dough.
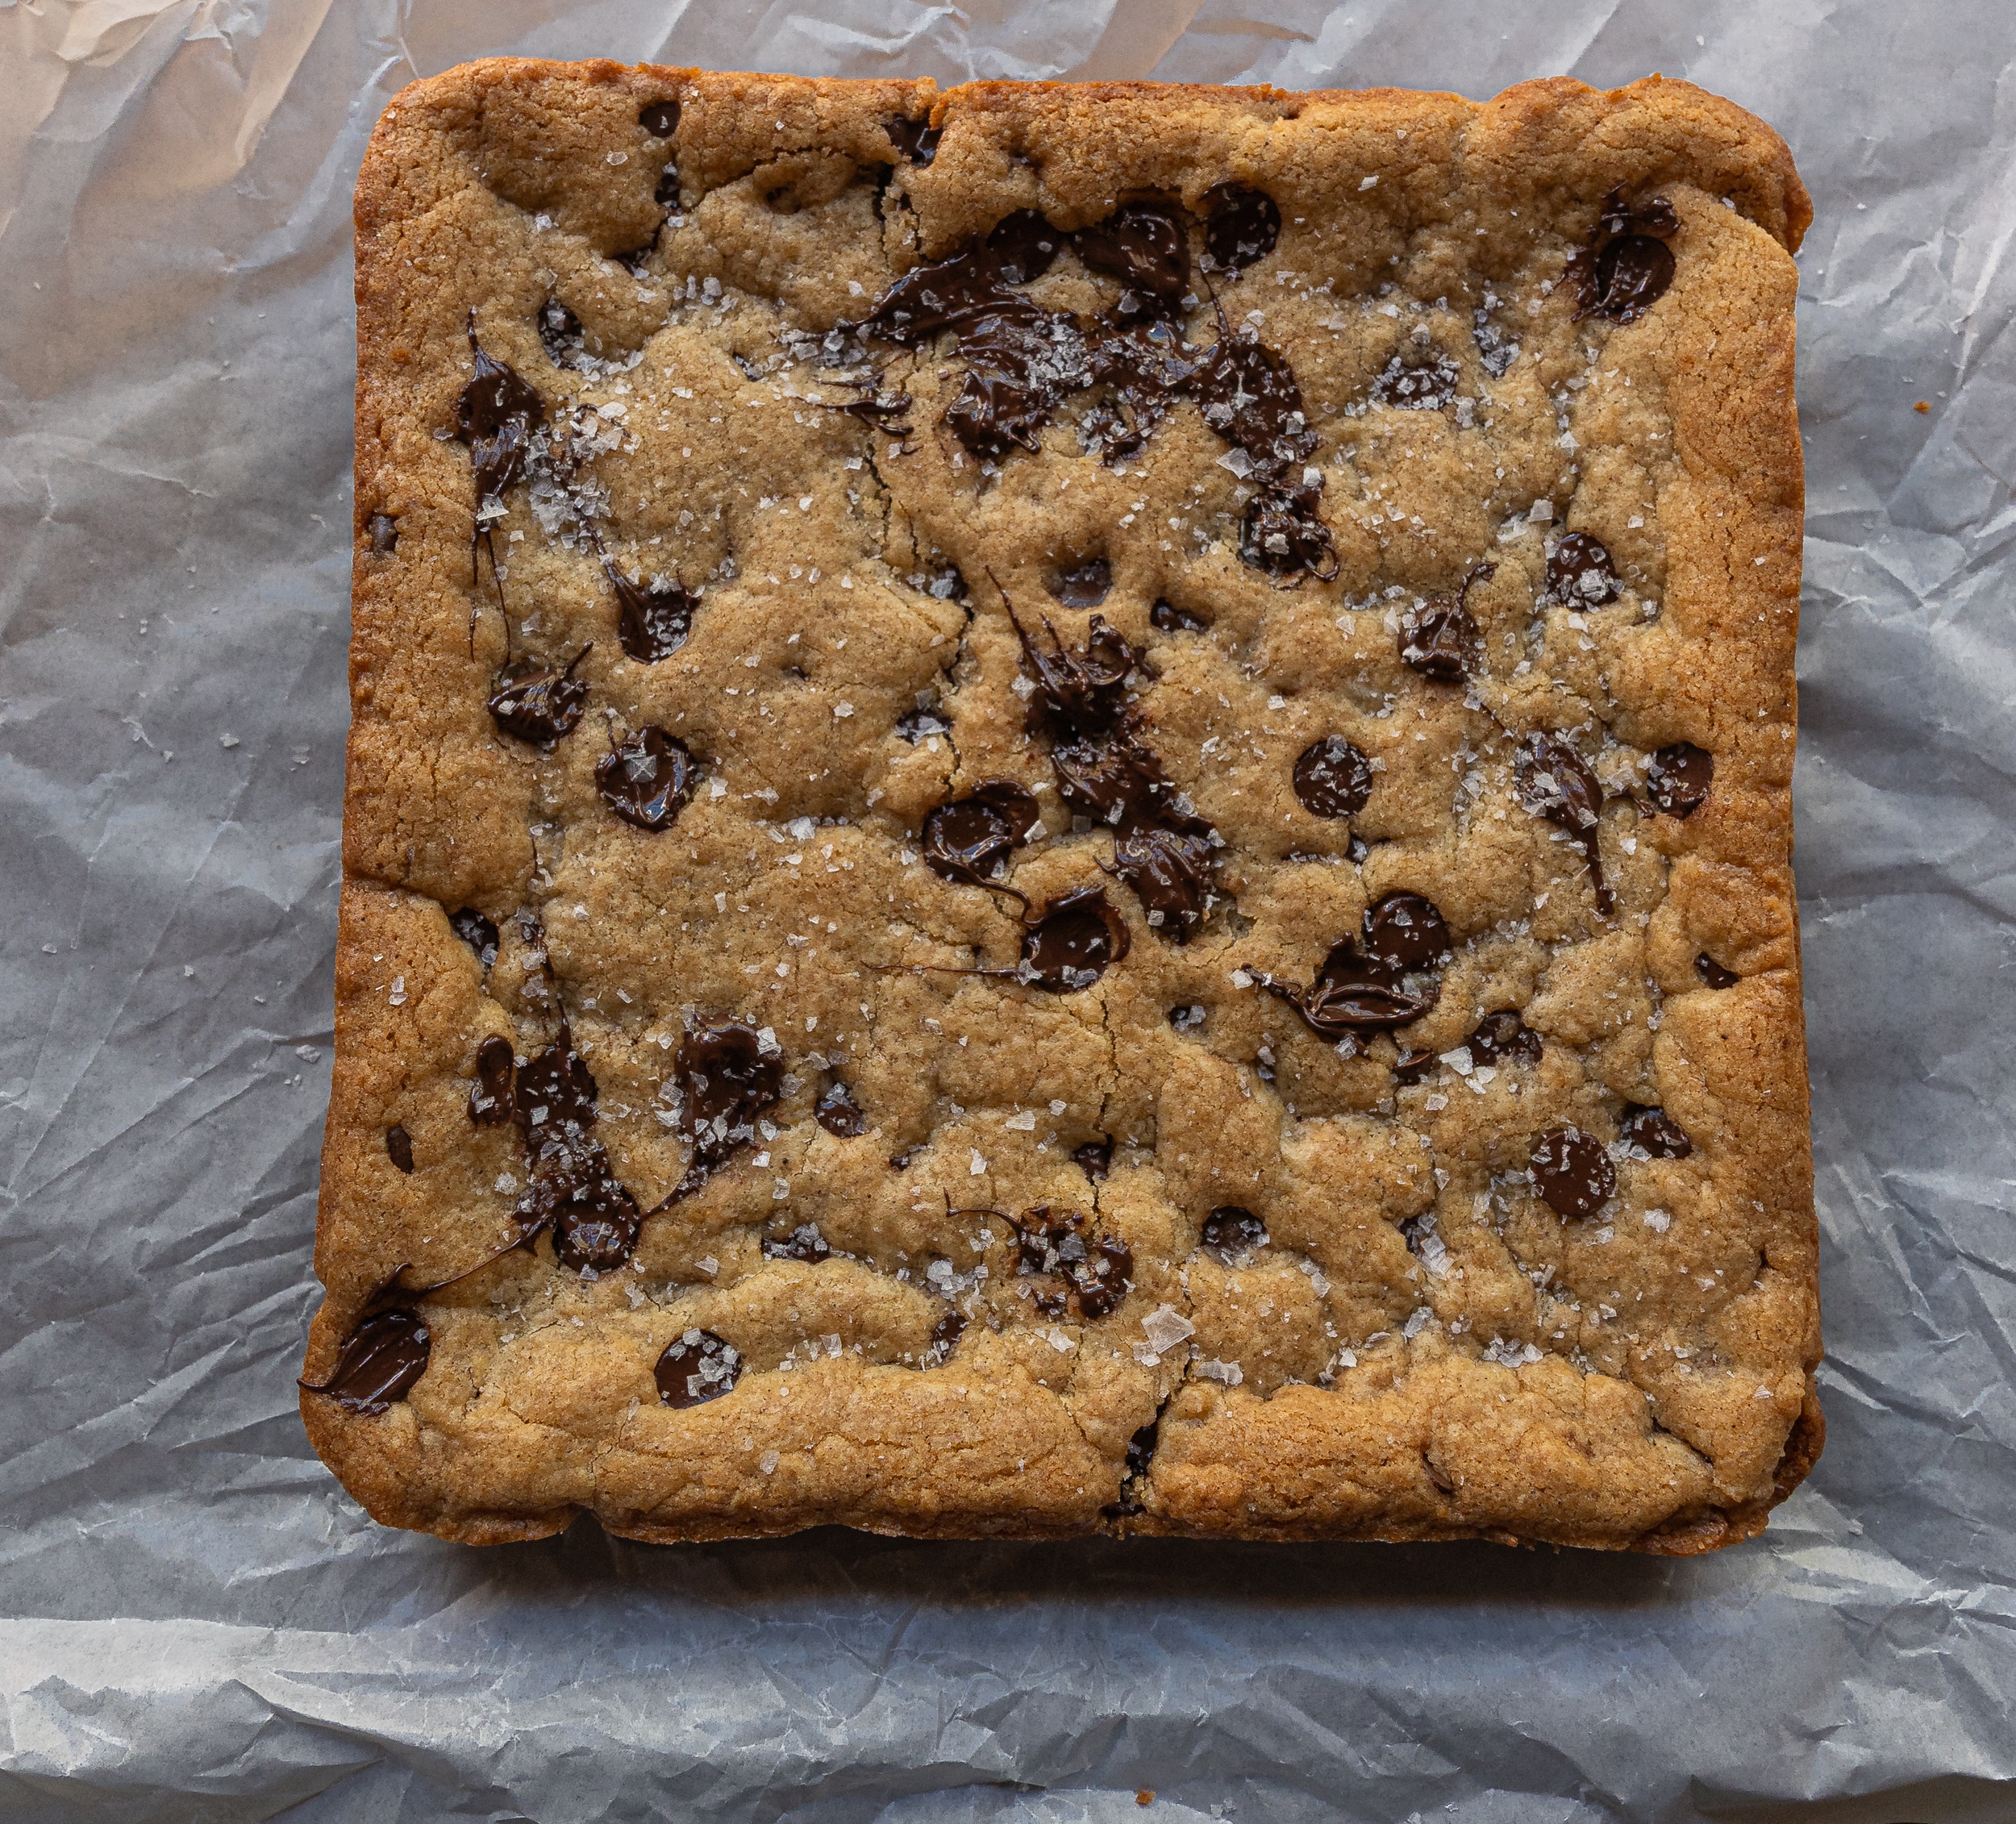
Cool in the pan fo 10 mins before lifting and cool completly on a cooling rack.
Store cookie bars in an airtight container at room temperature for up to 3 days. The flavor actually deepens after the first day as the brown butter settles.
For longer storage, refrigerate for up to 5 days. Let bars come to room temperature before serving for the best texture.
To freeze, wrap individual bars or the whole slab tightly in plastic wrap, then foil. Freeze for up to 2–3 months. Thaw at room temperature or warm briefly for a just-baked feel.

How do you know when cookie bars are done?
Look for golden, set edges and a center that looks slightly underbaked (dull, not shiny). A toothpick should come out with moist crumbs, not wet batter.
Why are my cookie bars gooey in the middle?
They may simply need more cooling time (bars continue to set as they cool). If they’re still wet after cooling, your oven may be running cool, the pan may be darker/thicker, or the bars needed a few more minutes.
Why did my cookie bars turn out cakey or dry?
Overbaking is the #1 culprit. Too much flour (scooping instead of spooning/leveling) can also make bars dry. Pull them when the center is just set and let carryover heat finish the job.
Why are my cookie bars greasy?
If the brown butter is too hot when you mix, it can make the dough feel oily and encourage excess spread. Let it cool until warm (not hot). Also, measure flour accurately.
Do I have to use espresso powder? Will it taste like coffee?
You can skip it. Used in a small amount, espresso powder deepens chocolate flavor without making the bars taste like coffee.
Can I use a chocolate bar instead of chips?
Absolutely. Chopped chocolate gives melty pools and a more “bakery” look. Chips hold their shape for classic bites.
Can I make these ahead or freeze them?
Yes. Store airtight at room temp for a few days. Freeze baked bars (whole slab or slices) well wrapped for up to ~2–3 months for best quality. Thaw at room temp.
Can I bake this in a different pan size?
Yes, but bake time changes. A 9×9 will be a bit thinner and bake faster. A 9×13 will be much thinner and needs less time (and often a scaled‑up batch).
You want golden, not burnt. Think toasted hazelnut, not coffee ash.
**Milk Powder
Milk powder deepens the brown butter flavor, giving it that bakery-style, toasted richness. It’s usually found in the baking aisle near evaporated milk or in the international foods section.
Think of it as a flavor amplifier, not a requirement.
Store cookie bars in an airtight container at room temperature for up to 3 days. The flavor actually deepens after the first day as the brown butter settles.
For longer storage, refrigerate for up to 5 days. Let bars come to room temperature before serving for the best texture.
To freeze, wrap individual bars or the whole slab tightly in plastic wrap, then foil. Freeze for up to 2–3 months. Thaw at room temperature or warm briefly for a just-baked feel.
I’m so grateful you’re here! Have a look around at some of my favourite recipes and stay a while.
Get a fresh delivery of only the goods delivered to your inbox.
Leave a Comment
Did you make this recipe? I'd love to hear how it turned out. Leave a comment and share your tweaks.
-- / 5 average rating from -- reviews
Lorem ipsum dolor sit amet, consectetur adipiscing elit. Suspendisse varius enim in eros elementum tristique. Duis cursus, mi quis viverra ornare, eros dolor interdum nulla, ut commodo diam libero vitae erat. Aenean faucibus nibh et justo cursus id rutrum lorem imperdiet. Nunc ut sem vitae risus tristique posuere. uis cursus, mi quis viverra ornare, eros dolor interdum nulla, ut commodo diam libero vitae era
Lorem ipsum dolor sit amet, consectetur adipiscing elit. Suspendisse varius enim in eros elementum tristique. Duis cursus, mi quis viverra ornare, eros dolor interdum nulla, ut commodo diam libero vitae erat. Aenean faucibus nibh et justo cursus id rutrum lorem imperdiet. Nunc ut sem vitae risus tristique posuere. uis cursus, mi quis viverra ornare, eros dolor interdum nulla, ut commodo diam libero vitae era