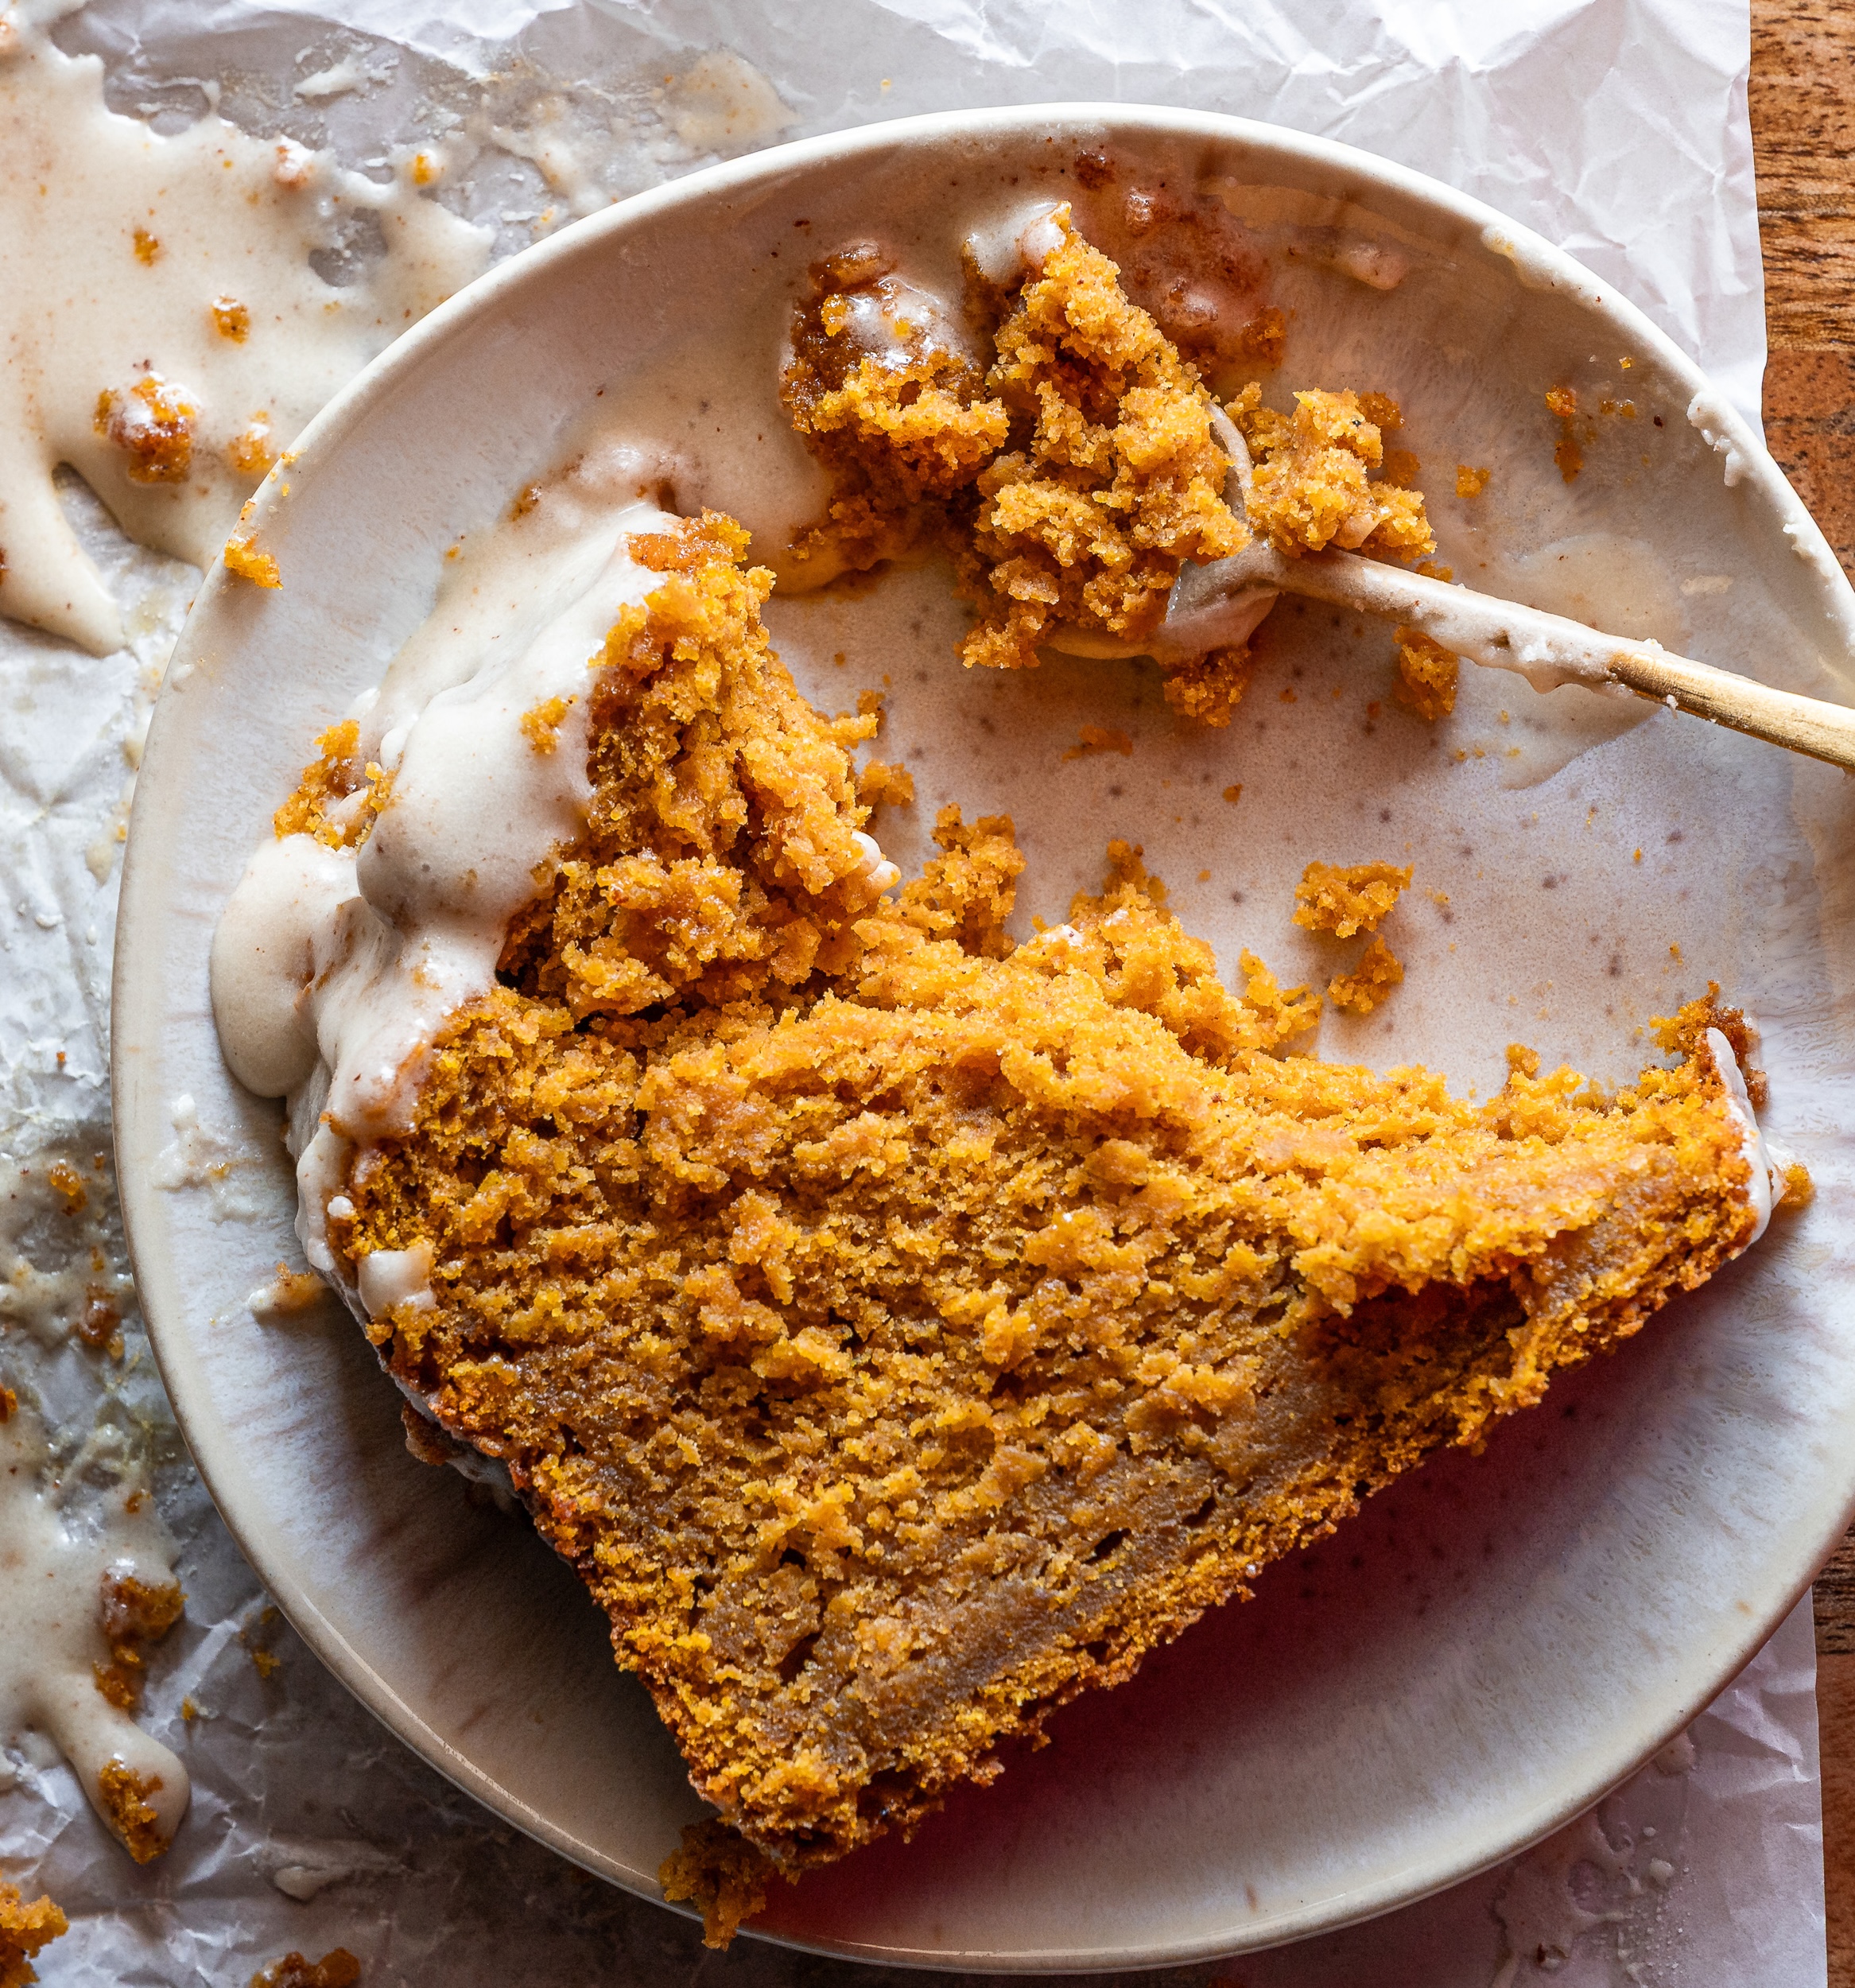
I wanted this pumpkin bread to feel a little more special than a classic loaf, so I leaned into two of my favorite fall flavors, besides pumpkin of course is brown butter and maple. The brown butter gives the bread a deep, nutty flavor, while the full can of pumpkin keeps it soft and moist, and the thick brown butter maple glaze on top pulls everything together and makes this one of those recipes I’ll keep coming back to all season.

Brown butter is the flavor foundation of this pumpkin bread. As the butter cooks, its milk solids toast and develop deep nutty, caramel-like notes. Make sure to scrape every browned milk solid from the bottom of the saucepan. Those tiny golden-brown flecks contain much of the flavor.
This recipe uses an entire 15-ounce can of pumpkin puree. Pumpkin adds moisture, color, flavor, and body to the bread. Be sure to use 100% pumpkin puree and not pumpkin pie filling, which already contains sugar and spices. Different brands of pumpkin can vary slightly in moisture content, so the finished batter may look a little thicker or looser depending on the brand.
Brown sugar provides sweetness while adding moisture and subtle molasses flavor. It also complements the toasted flavor of the brown butter.
Using a combination of granulated and brown sugar instead of only brown sugar helps keep the crumb from becoming too heavy. The granulated sugar also gives the pumpkin bread a slightly cleaner sweetness so the spices and brown butter remain noticeable.
Two eggs give the loaf enough structure to support the full can of pumpkin without making the bread overly eggy or cakey. Using room temperature eggs incorporate more easily into the batter.
A small amount of whole milk loosens the batter and replaces some of the liquid lost when the butter is browned. Whole milk also contributes a little additional fat, which helps create a tender crumb.
A full tablespoon of vanilla may sound generous, but pumpkin and warm spices can handle it. Vanilla rounds out the spices and complements the maple glaze.
Cinnamon provides the primary warm flavor, while ginger adds brightness. Nutmeg, cloves, and allspice bring depth without overwhelming the pumpkin.
Use pure maple syrup for the glaze rather than pancake syrup. Since only a tablespoon is needed, the maple flavor should complement rather than overpower the brown butter.
Place the 1/2 cup of butter used for the bread batter in a light-colored saucepan over medium heat. Allow the butter to melt completely. It will begin to bubble, foam, and crackle as the water cooks out. Continue cooking, stirring or swirling the pan frequently. After several minutes, the milk solids at the bottom of the pan will begin turning golden brown. Once the butter smells deeply nutty, the milk solids are amber-brown, and the bubbling sound subsides immediately remove the pan from the heat. Pour the brown butter, including all of the browned milk solids, into a medium to large heat safe mixing bowl. Allow it to cool for about 10–15 minutes. It can still be warm, but it should not be piping hot when the eggs are added.
Preheat the oven to 350°F (175°C). Grease a 9 x 5-inch loaf pan and line it with parchment paper, leaving a little overhang on the sides. The parchment makes it much easier to lift the finished bread from the pan. Set the prepared pan aside.
In a separate medium bowl, whisk together the dry ingredients till fully combined and set aside:
Add the brown sugar and granulated sugar to the cooled brown butter. Whisk until everything is thoroughly combined. The mixture may look slightly grainy at this stage. That is completely normal.
Add the eggs one at a time, whisking well after each addition. Whisk in the vanilla extract. The mixture should become smoother and lightly thicker as the eggs are incorporated.
Add the entire can of pumpkin puree and whisk until the mixture is smooth and evenly combined. Pour in the whole milk and whisk again. At this point, the mixture should be thick, smooth, and orange.
Add the dry ingredients to the pumpkin mixture. Using a rubber spatula, gently fold everything together just until you no longer see dry streaks of flour. Avoid vigorously mixing once the flour has been added. Overmixing develops more gluten and can make pumpkin bread tough or rubbery instead of soft and tender. The batter will be fairly thick.
Transfer the batter to the prepared loaf pan. Use a spatula or the back of a spoon to spread the batter evenly into the corners and smooth the top.
Bake at 350°F for approximately 65–75 minutes, or until a toothpick or thin skewer inserted into the center comes out with a few moist crumbs but no wet batter. Because this loaf contains a full can of pumpkin, do not rely on browning alone to determine doneness. The exterior can look completely baked while the very center still needs additional time. If the top is browning too quickly before the center is finished, loosely tent the loaf with aluminum foil during the final portion of baking. An instant read thermometer inserted into the center should register around 200–205°F when fully baked.
Place the loaf pan on a wire rack and allow the bread to cool in the pan for approximately 15–20 minutes. Use the parchment overhang to carefully lift the bread from the pan. Transfer it directly to the cooling rack and allow it to cool completely before glazing. This is important. Glaze added to warm pumpkin bread will melt, thin out, and soak into the loaf.
Add 2 tablespoons butter to a small light colored saucepan. Cook over medium low to medium heat until the butter is golden brown and smells nutty. Immediately pour the butter, including the browned milk solids, into a small to medium bowl. Allow it to cool for at least 5 minutes.
Add the powdered sugar, maple syrup, vanilla, pinch of salt, and 1 tablespoon milk to the brown butter. Whisk until completely smooth. If the glaze is too thick to spread, add additional milk 1 teaspoon at a time. You want the glaze to fall slowly from the whisk rather than pour like a liquid.
Make sure the pumpkin bread is completely cool. Spoon or pour the glaze over the center of the bread and gently encourage it toward the edges. Allow the glaze to sit at room temperature until set before slicing or wrapping the bread. For an especially thick glaze, let it sit in the bowl for a few minutes before spreading it over the loaf.
For the most consistent result, measure the flour with a kitchen scale. Two cups of all-purpose flour should weigh approximately 240 grams. If you are using measuring cups, spoon the flour into the measuring cup and level the top rather than scooping directly from the flour container. Too much flour is one of the easiest ways to end up with dry or dense pumpkin bread.
There is a short window between deeply browned butter and burned butter. Once you see amber milk solids and smell a strong toasted, nutty aroma, remove the pan from the heat.
Fold the flour into the wet ingredients only until combined. A few final streaks of flour can be gently folded in by hand.
Pumpkin pie filling contains additional sugar and spices and will change the flavor and sweetness of the recipe.
A full-can pumpkin loaf contains plenty of moisture. If the center still looks wet while the top is becoming dark, cover the bread loosely with foil and continue baking.
Warm bread and thick glaze are natural enemies. For a glaze that stays visible and eventually sets on top of the bread, allow the loaf to cool completely first.
Once the glaze has completely set, store the pumpkin bread in an airtight container at room temperature for approximately 2 days. Place parchment paper between the glaze and any wrapping whenever possible so the glaze doesn't stick.
For longer storage, keep the bread covered in the refrigerator for up to 5 days. Refrigeration will make the crumb firmer, so allow individual slices to come closer to room temperature before serving or gently reheat them.
For the best texture, I prefer freezing the pumpkin bread before adding the glaze. Allow the loaf to cool completely, then wrap it tightly in plastic wrap followed by aluminum foil or place it in a freezer-safe container. Freeze for up to 2–3 months. You can also freeze individual slices for easier serving. Thaw the bread at room temperature, then add the maple glaze after it has completely thawed.
For a warm slice, microwave an individual piece of pumpkin bread for approximately 10–15 seconds. If the bread is already glazed, use a very short heating time because the glaze will begin melting when warmed. For unglazed pumpkin bread, slices can also be warmed in a 300°F oven for 5–8 minutes.
Yes. This recipe was specifically developed around an entire 15-ounce can of pumpkin puree. Because pumpkin contains a lot of moisture, the flour, eggs, leavening, and baking time need to be balanced accordingly.
Pumpkin bread can become dense if too much flour is added, the batter is overmixed, the leavening is old, or the loaf is underbaked. Because this recipe uses a full can of pumpkin, make sure the very center is fully baked before removing it from the oven.
A gummy center is usually a sign that the loaf needed more baking time. Pumpkin breads retain significant moisture, and the exterior can appear finished well before the center is set. Use a long toothpick, cake tester, or instant-read thermometer to check the center.
Some of the water naturally present in butter evaporates during the browning process. The small amount of milk helps replace that moisture and keeps the crumb softer.
Yes. You can substitute approximately 3 1/2 to 4 teaspoons pumpkin pie spice for the cinnamon, ginger, nutmeg, cloves, and allspice. The exact flavor will depend on the blend you use.
Absolutely! The pumpkin bread can be served plain, dusted lightly with powdered sugar, or topped with a simple vanilla glaze. However, the brown butter maple glaze emphasizes the toasted butter flavor and gives the loaf a bakery-style finish.
The bread was probably still warm, or the glaze contained too much liquid. Allow the loaf to cool completely before glazing and add the milk gradually. A thick glaze will sit on top of the bread rather than immediately running down the sides.
Add additional powdered sugar a tablespoon at a time. If you haven't made the glaze yet, begin with only 1 tablespoon milk and increase it by teaspoons only when necessary. The glaze should be thick enough that it slowly ribbons from a spoon.
Yes. In fact, pumpkin bread is excellent for making ahead because the spices become even more noticeable after the loaf rests. Bake the loaf the day before serving, cool it completely, and store it tightly covered. Add the glaze once the bread has cooled and several hours before serving, or glaze it the following day.
You want a golden color, not burnt, like toasted hazelnut, not coffee ash.
Measuring flour properly makes a big difference in how your baked recipes turn out. For best results, use a kitchen scale and measure in grams. This ensures consistency and prevents adding too much flour, which can make this cake dry or dense.
If you don’t have a kitchen scale:
Too much flour is one of the most common reasons baked recipes can become dry and cakey
I’m so grateful you’re here! Have a look around at some of my favourite recipes and stay a while.
Get a fresh delivery of only the goods delivered to your inbox.


Leave a Comment
Did you make this recipe? I'd love to hear how it turned out. Leave a comment and share your tweaks.
-- / 5 average rating from -- reviews
Lorem ipsum dolor sit amet, consectetur adipiscing elit. Suspendisse varius enim in eros elementum tristique. Duis cursus, mi quis viverra ornare, eros dolor interdum nulla, ut commodo diam libero vitae erat. Aenean faucibus nibh et justo cursus id rutrum lorem imperdiet. Nunc ut sem vitae risus tristique posuere. uis cursus, mi quis viverra ornare, eros dolor interdum nulla, ut commodo diam libero vitae era
Lorem ipsum dolor sit amet, consectetur adipiscing elit. Suspendisse varius enim in eros elementum tristique. Duis cursus, mi quis viverra ornare, eros dolor interdum nulla, ut commodo diam libero vitae erat. Aenean faucibus nibh et justo cursus id rutrum lorem imperdiet. Nunc ut sem vitae risus tristique posuere. uis cursus, mi quis viverra ornare, eros dolor interdum nulla, ut commodo diam libero vitae era